Novembre 2015

Ok

En poursuivant votre navigation sur ce site, vous acceptez l'utilisation de cookies. Ces derniers assurent le bon fonctionnement de nos services. En savoir plus.

fédération du commerce

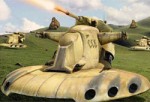
  • (2) Cab Droide

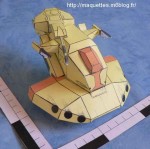
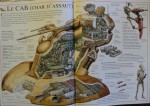
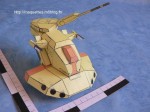
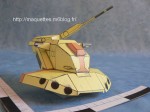
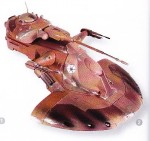
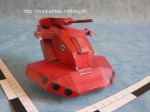
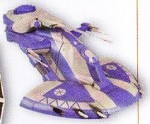
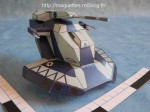
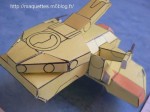
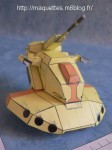
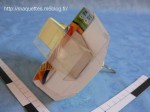
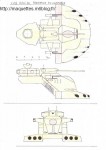
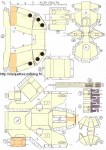
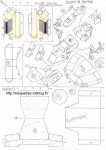
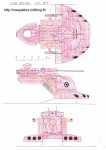
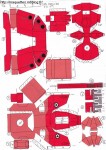
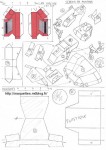
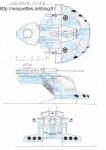
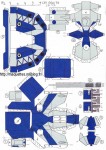
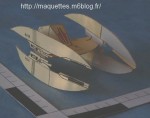
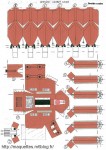
    Char d'Assaut Blindé, piloté, sur répulseurs utilisé en premier lieu par la fédération du comerce, puis sous les couleurs de la confédération des systèmes indépendants suite à son ralliement à cette organisation peu de temps avant la guerre des clones !
    Armoured, piloted tank, used in first time by the federation of the comerce, then under the colors of the confederacy of the independent systems further to his reunification to this organization shortly before the war of clones!

    CAB FDC-image1.jpg
    CAB de la fédération du commerce
    CAB-photo02.JPG
    CAB FDC-image5.JPG
    CAB-photo03.JPG
    CAB-photo05.JPG
    CAB-photo04.JPG
    CAB CSI1-image2.jpg
    CAB-photo09.JPG
    CAB CSI2-image3.jpg
    CAB-photo10.JPG

    Pour plus de renseignements sur le Char d'Assaut Blindé, voir le lien / For more information on the Armoured Tank, see the link : http://www.starwars-holonet.com/holonet.php?fiche=ship_tradefed_aat

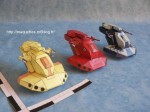
    les 3 nouveaux modèles
    CAB-photo01.JPG
    CAB-photo06.JPG
    CAB-photo07.JPG

    CAB-photo08.JPG
    vue de dessous


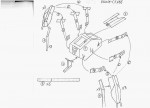
    CAB NB-plan.jpg
    CAB NB-pièces.jpg
    CAB NB-schéma+renforts.jpg
    CAB FDC-plan.jpg
    CAB FDC-pièces.jpg
    CAB FDC-schéma+renforts.jpg
    CAB CSI1-plan.jpg
    CAB CSI1-pièces.jpg
    CAB CSI1-schéma+renforts.jpg
    CAB CSI2-plan.jpg
    CAB CSI2-pièces.jpg
    CAB CSI2-schéma+renforts.jpg

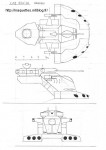
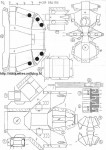
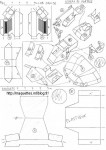
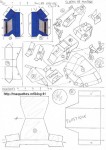
    Pour télécharger le plan 3 vues, les plans de pièces, schéma de montage et de renforts en noir et blanc du CAB / To download the 3 sights plan, the plans of pieces, diagram of assembly and reinforcements in black and white of the CAB, CLIQUER ICI

    Pour télécharger le plan 3 vues, les plans de pièces, schéma de montage et de renforts en du CAB de la fédération du commerce / To download the 3 sights plan, the plans of pieces, diagram of assembly and reinforcements of the trade federation's CAB, CLIQUER ICI

    Pour télécharger le plan 3 vues, les plans de pièces, schéma de montage et de renforts des 2 modèles de CAB de la CSI / To download the 3 sights plan, the plans of pieces, diagram of assembly and reinforcements in black and white of 2 models of CSI, CLIQUER ICI

    CONSIGNES DE CONSTRUCTION DU CAB :
    -  A la suite de sa construction, j'ai été une peu déçu par la partie avant un peu trop "trapue" ! Des petites erreurs de développés, que je ne sais pas comment résoudre, en sont la cause !!
    - Pas de difficulté marquée sur ce modèle, il faut juste faire attention à la fixation de la tourelle pivotante car on doit coller la pièce B sur une boîte vide (la pièce 10 ) qui est sans renforts internes ! 
    - Il faudra peut être utiliser de la super colle (attention à l'utilisation) pour assembler certianes pièces entre elles !

    BUILDINGS INSTRUCTIONS OF ARMOURED TANK :
    - No difficulty was marked on this model, it is just necessary to pay attention on the fixation of the swivelling turret because we have to stick the piece B on an empty box ( the piece 10 ) which is without internal reinforcements!
    - it will be necessary can be to use some great glue (attention on the use) to assemble special pieces between them!
  • (1) droïde-vautour

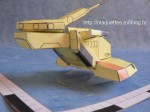
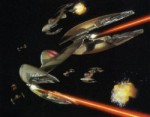
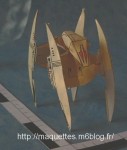
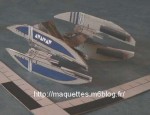
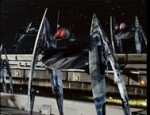
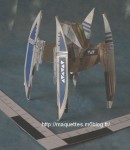
    Chasseur Droïde-vautour de la fédération du commerce et de la confédération des systèmes indépendants.
    Chasseur droide utilisé par la fédération du Commerce pendant la bataille de Naboo. Ces droides ont 2 modes de fonctionnement, Chasseur spatial ou patrouille au sol !!
    Fighter Droïde-vautour of the trade federation and the confederacy of the independent systems.
    Fighter droide used by the trade federation during the battle of Naboo. This droides has 2 ways of functioning, spatial Fighter or patrol on the ground!!

    Pour plus de renseignements, voir le lien / For more information, see the link: http://www.starwars-holonet.com/holonet.php?fiche=ship_tradefed_fighter

    droide vautour1-image1.jpg
    droide vautour1-photo1.jpg
    droide vautour1-image2.jpg
    droide vautour1-photo2.jpg
    droide vautour2-image1.jpg
    droide vautour2-photo1.jpg
    droide vautour2-image2.jpg
    droide vautour2-photo2.jpg
    droide vautour1-plan.jpg
    droide vautour1-plan2.jpg
    droide vautour2-plan.jpg
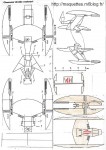
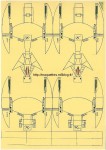
    Pour télécharger le plan 3 vues, de pièces et de renforts du droide starfighter / To download the 3 sights plan, of pieces and reinforcements of the droide starfighter, CLIQUER ICI

    CONSIGNES DE CONSTRUCTION :
    - Il est conseillé d'imprimer cette planche sur un format A4 non cartonnée de couleur jaune sable pour obtenir un rendu proche du modéle original
    - Ne pas oublier de peindre au feutre rouge les "yeux" du droide-vautour comme sur le plan ci-dessus.
    - il est conseillé de doubler les ailes du droide-vautour, ainsi que sa partie d'un morceau de carton fin ( type boîte à céréales ).
    - Pour le montage, je suggère d'agrafer perpendiculairement à la pliure fuselage/aile( soit 4 agrafes sur toute la maquette), après il faut plier cette agrafe à 90° et ainsi la pliure ne bougera pas, elle sera plus rigide qu'en utilisant juste le carton !! ( on peut aperçevoir ces agrafes sur la photo mode patrouille au sol ).
    - Ce modèle est assez simple, car le seul volume est la tête.
    - Il est possible réaliser les 2 modes avec une seule maquette.
    - Pour réaliser la version patrouille au sol, garder les 2 parties centrales de fuselage écartées comme sur le schéma. Utiliser les rabats pour durcir les morceaux qui joignent les 2 grandes pièces. le morceau rectangulaire devant la tête est à découper et à coller sur le dessus de la partie centrale .
    - Pour réaliser la version chasseur spatial, coller ensemble les 2 ensembles de piéces ( attention au sens ) et ramener la tête sur le dessus et utiliser la piéce rectangulaire devant la tête pour la positionner sur le "corps".
    Il est possible qu'une seule maquette puisse passer d'un mode à l'autre. Avec l'aide d'un trombone, on peut "refermer" le corps du droide, pour avoir le mode chasseur. Quand à la tête, je vous laisse chercher un tout petit peu comment on peut faire !!!  Si vous avez trouver une idée, hésitez pas à m'en faire part !!

    Indice : Penser à une languette devant la tête et à la "façon" de coller le morceau rectangulaire sur le corps !!!

    BUILDINGS INSTRUCTIONS :
    - It is advised to print this board on a size A4 not bound by sand-coloured yellow color to obtain a depiction close to the original modéle - not to forget to paint with the red felt-tip the "eyes" of the droide-vulture as on the plan above.
    - It is advised to double the wings of the droide-vulture, as well as its part(party) of a piece of fine cardboard (typify box with cereal).
    - For the assembly, I ------ to fasten perpendicularly in the fold fuselage / wing (that is 4 hooks on all the model), after it is necessary to fold this hook in 90 ° and so the fold will not move, it will be stiffer than just by using the cardboard!! (We can aperçevoir these hooks on the photo mode patrols on the ground).
    - This model is rather simple, because the only volume is the head.
    - it's possible to realize 2 modes with a single model.
    - To realize the version patrols on the ground, to keep 2 central parts of fuselage spread as on the plan. Use flaps to harden the fragments which join 2 pieces. big the rectangular piece in front of the head is to be cut and to be stuck on the top of the central part.
    - To realize the version spatial fighter, stick together 2 sets pieces (attention on the sense) and to return the head on the top and to use the rectangular piéce in front of the head to position her on the "body".
    It is possible that a single model can pass from a mode to the other one. By means of a trombone, we can "close" the body of the droide, to have the mode fighter. When in the head, I let you look for any young little how we can make!!! If you have to find an idea, hesitate not to announce me it!!

    Indication: think of a tongue in front of the head and a "way" of sticking the rectangular piece on the body!!!

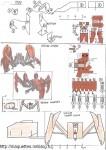
  • (1) Droide-crabe et STAP de la CSI

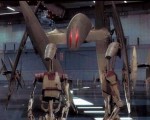
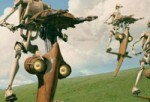
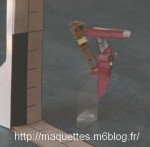
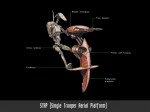
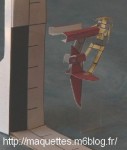
    Droide-crabe de la CSI et STAP (Système de Transport Aérien Personnel) de la fédération du commerce.
    Droide-crabe of the CSI and STAP (System of Personal Air transport) of the trade federation.

    Pour plus de renseignements sur le droide-crabe, voir le lien / For more information on the droide-crab, see the link : http://www.starwars-holonet.com/holonet.php?fiche=droid_crabe
    et
      pour le STAP, voir le lien / and for the STAP, see the link : http://www.starwars-holonet.com/holonet.php?fiche=ship_tradefed_stap 

    droide-crabe-image1.jpg
    droide-crabe-photo1.jpg
    droide-crabe-image2.jpg
    droide-crabe-photo2.jpg
    Stap-image1.jpg
    Stap-photo1.jpg
    Stap-image2.jpg
    Stap-photo2.jpg


    droide-crabe-plan.jpg
    droide-crabe-piéces.jpg
    droide-crabe-schéma.jpg

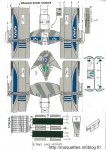
    Pour télécharger le plan du droide-crabe et du STAP de la CSI au 1/66 en pdf / To download the plan of the droid-crab and the STAP of the CSI in 1/66 pdf, CLIQUER ICI

    CONSIGNES DE CONSTRUCTION DU DROIDE-CRABE :
    - les seuls renforts cartonnés à ajouter sont sur les pattes du droide lourd ( de 6m de long). La version infanterie ( de 2m de long) ne nécessite aucun renfort !

    CONSIGNES DE CONSTRUCTION DU STAP :
    - Le seul renfort à ajouter sur le STAP est la feuille plastique qui servira également de support.
    - Ne pas oublier de créer un pilote droide pour aller sur le STAP, ces pieds sont collés sur le plateau et les mains sont collés sur le guidon !

    BUILDING INSTRUCTION OF the DROIDE-CRABE :
    - The only reinforcements bound to add are on the legs of the heavy droide (of 6m of length). The version infantry (of 2m of length) requires no reinforcement!

    BUILDING INSTRUCTIONS OF the STAP:
    - The only reinforcement to be added on the STAP is the plastic sheet which will also serve as support.
    - Do not forget to create a droid pilot to go on the STAP, these feet are stuck on the tray(plateau) and hands are stuck on the handlebars!