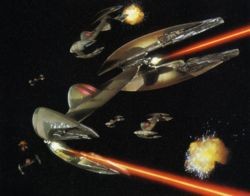
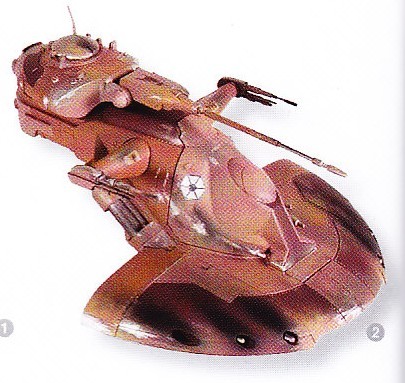
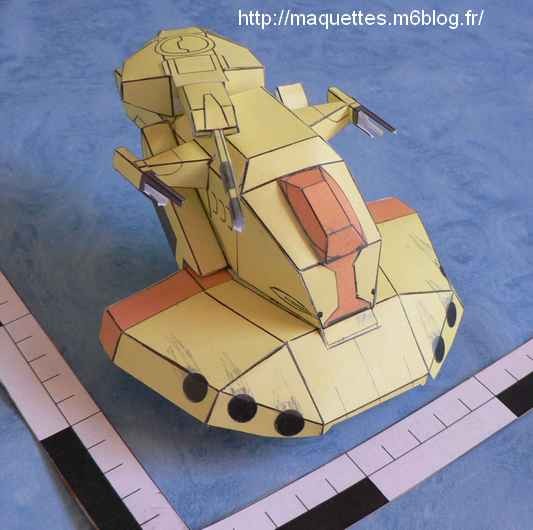
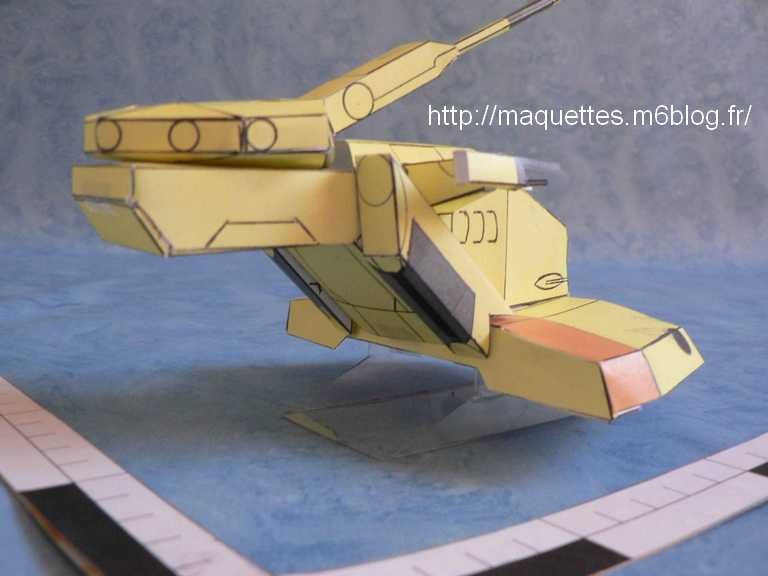
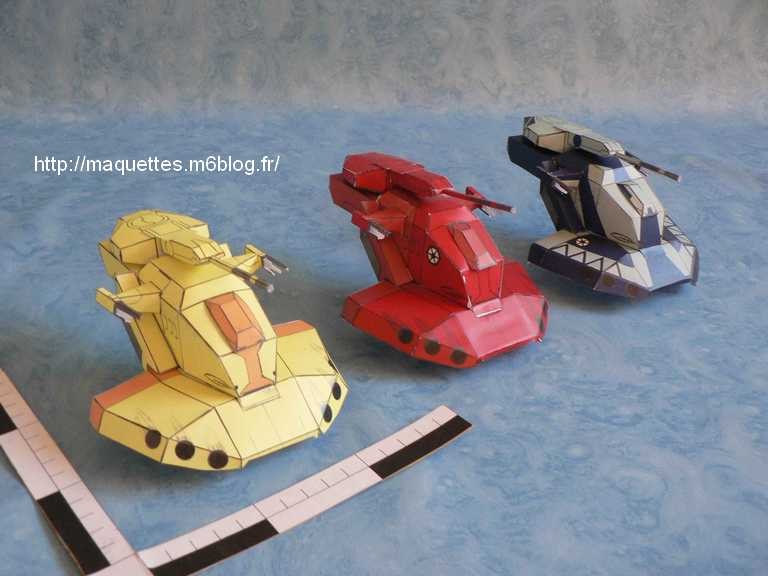
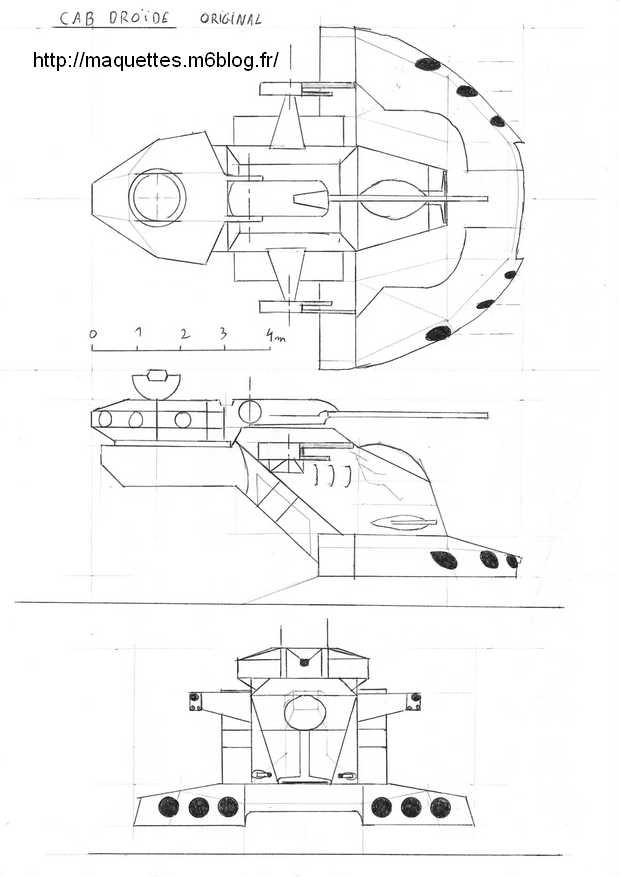
Char d'Assaut Blindé, piloté, sur répulseurs utilisé en premier lieu par la fédération du comerce, puis sous les couleurs de la confédération des systèmes indépendants suite à son ralliement à cette organisation peu de temps avant la guerre des clones !
Armoured, piloted tank, used in first time by the federation of the comerce, then under the colors of the confederacy of the independent systems further to his reunification to this organization shortly before the war of clones!
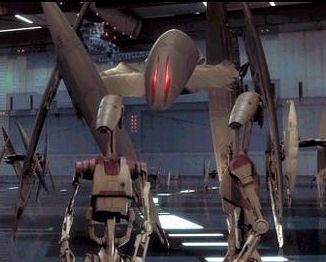
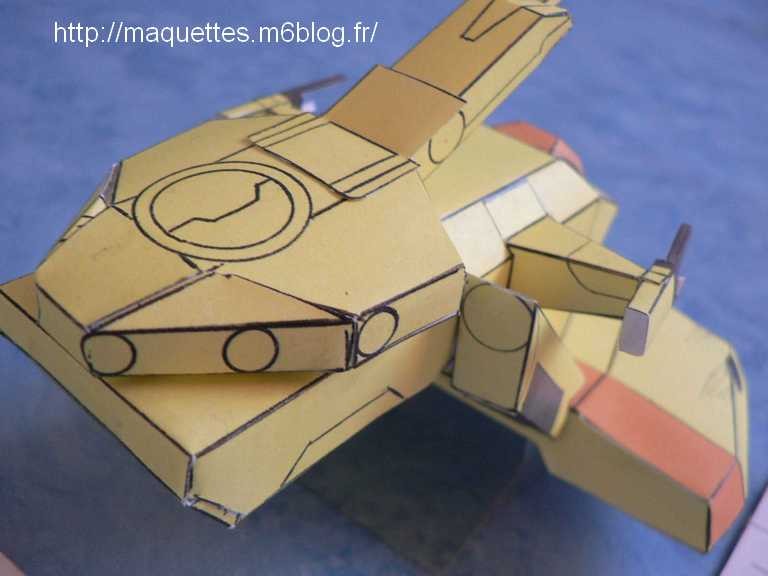
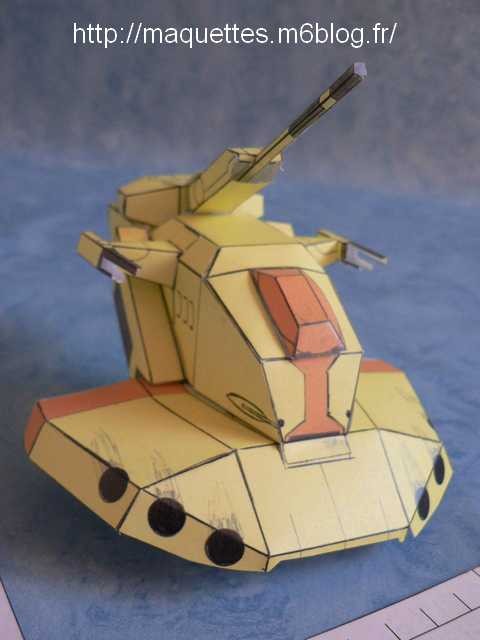
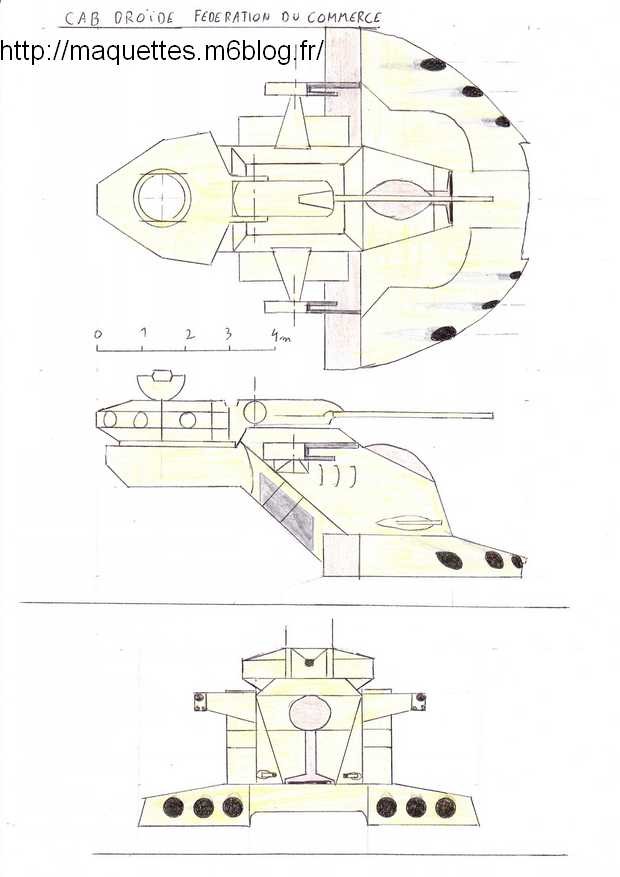
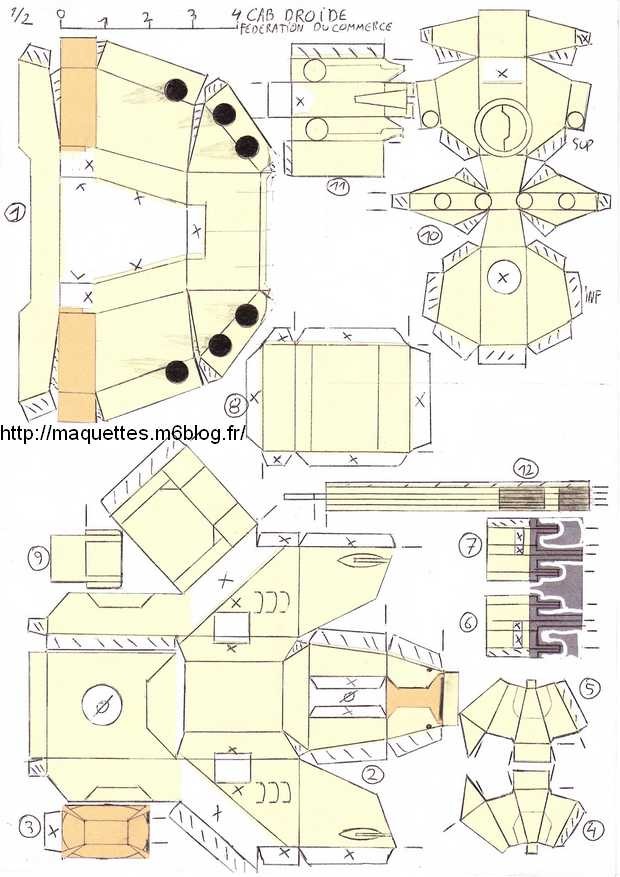
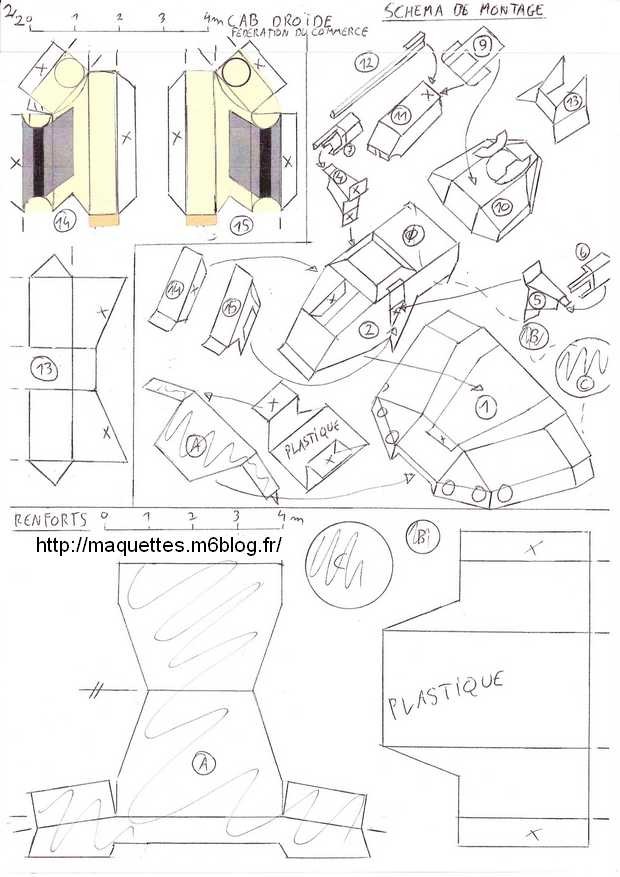
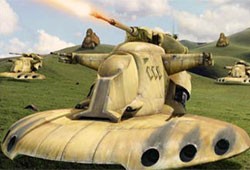 CAB de la fédération du commerce
|
|
 |
 |
 |
|
 |
|
 |
Pour plus de renseignements sur le Char d'Assaut Blindé, voir le lien / For more information on the Armoured Tank, see the link : http://www.starwars-holonet.com/holonet.php?fiche=ship_tradefed_aat
|
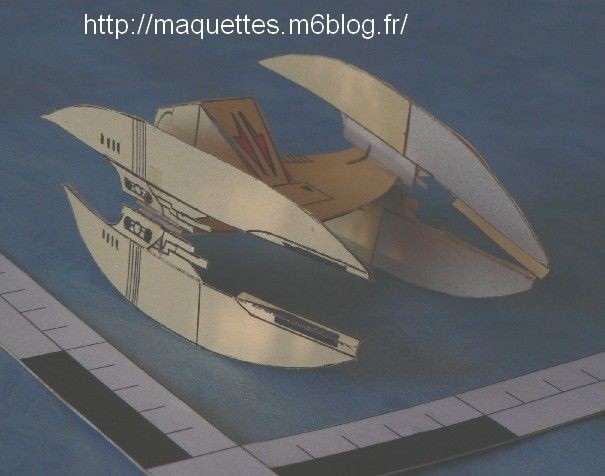
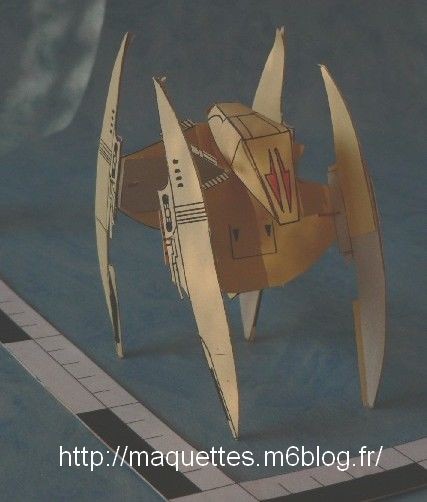
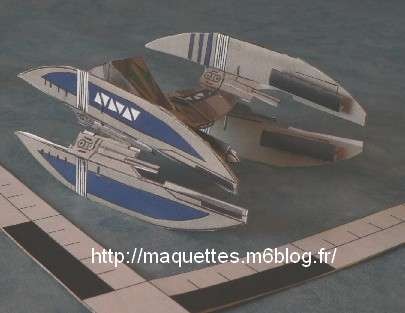
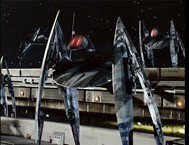
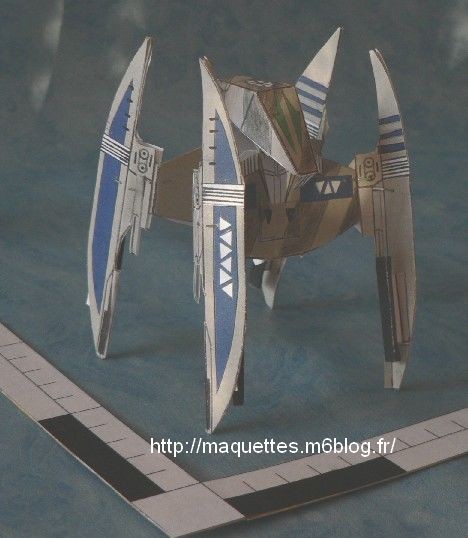
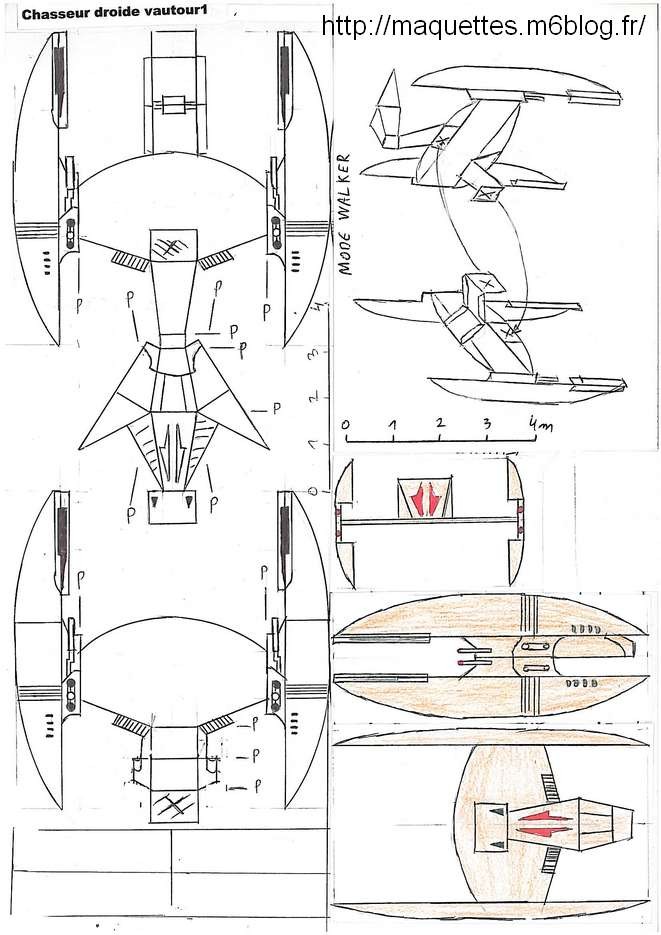
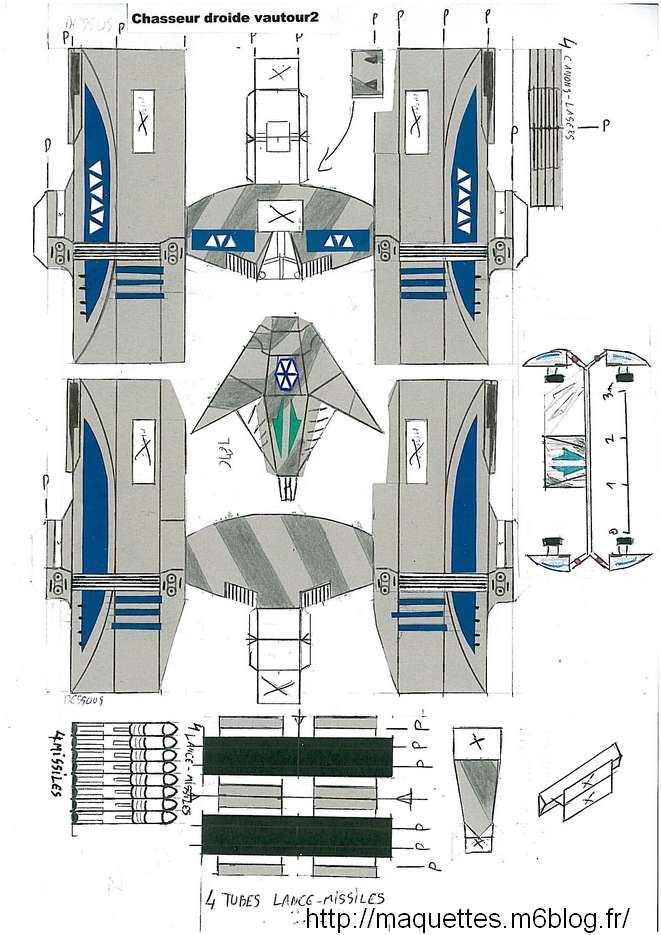
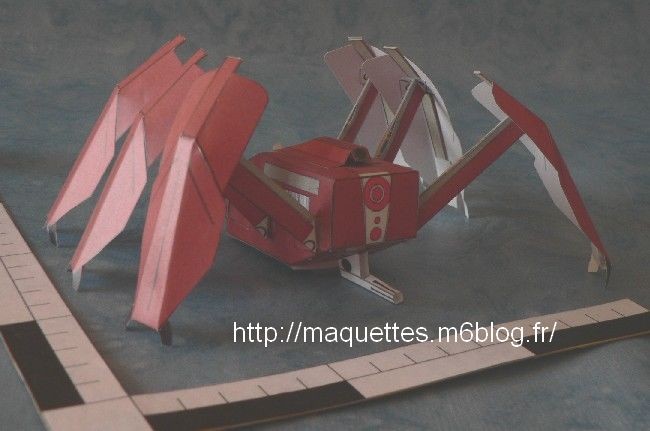
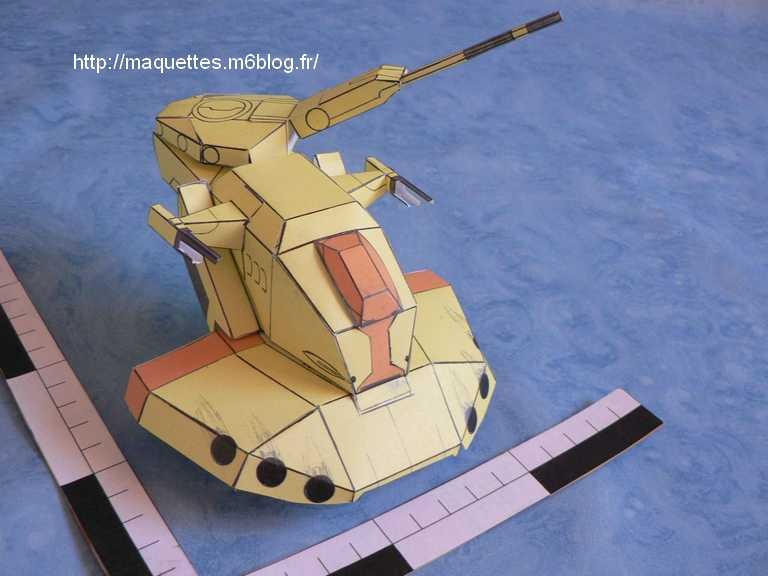
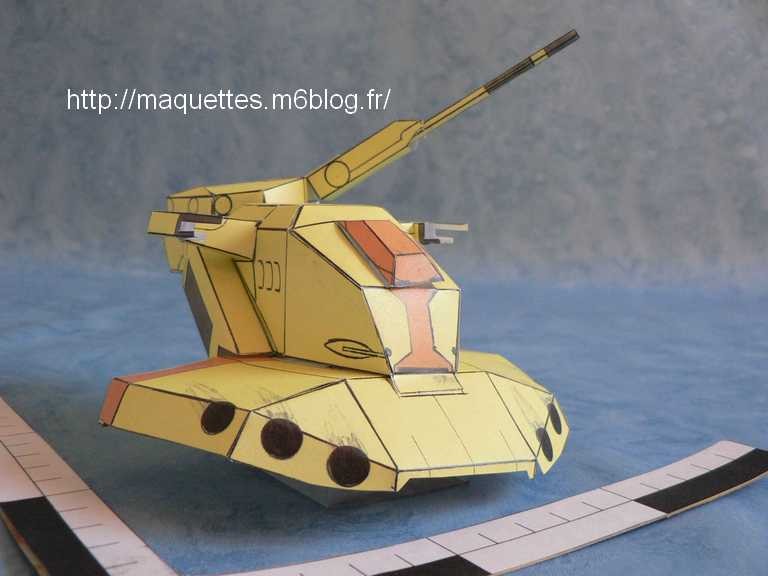
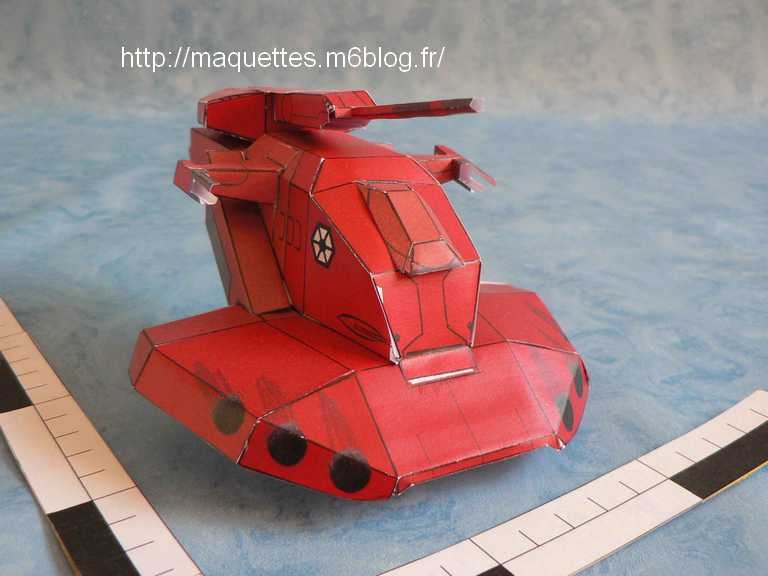
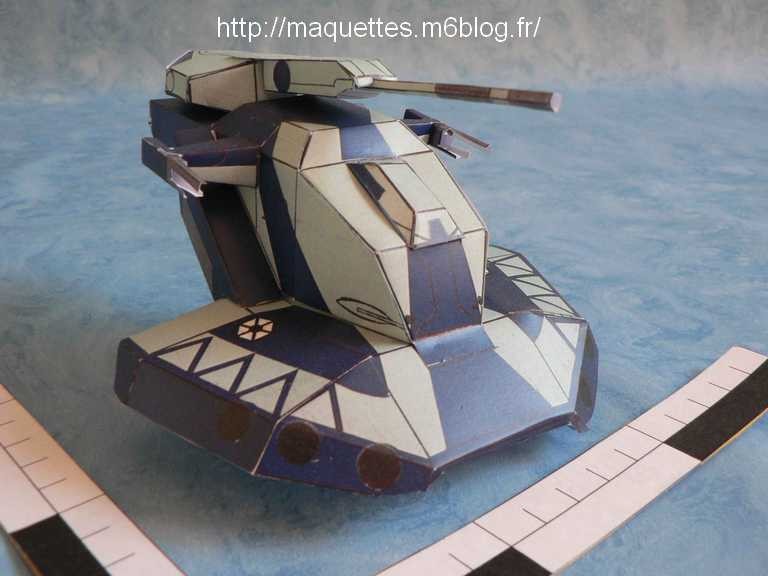
les 3 nouveaux modèles
 |
 |
 |
 |
 |
 |
 |
 |
 |
 |
 |
 |
 |
 |
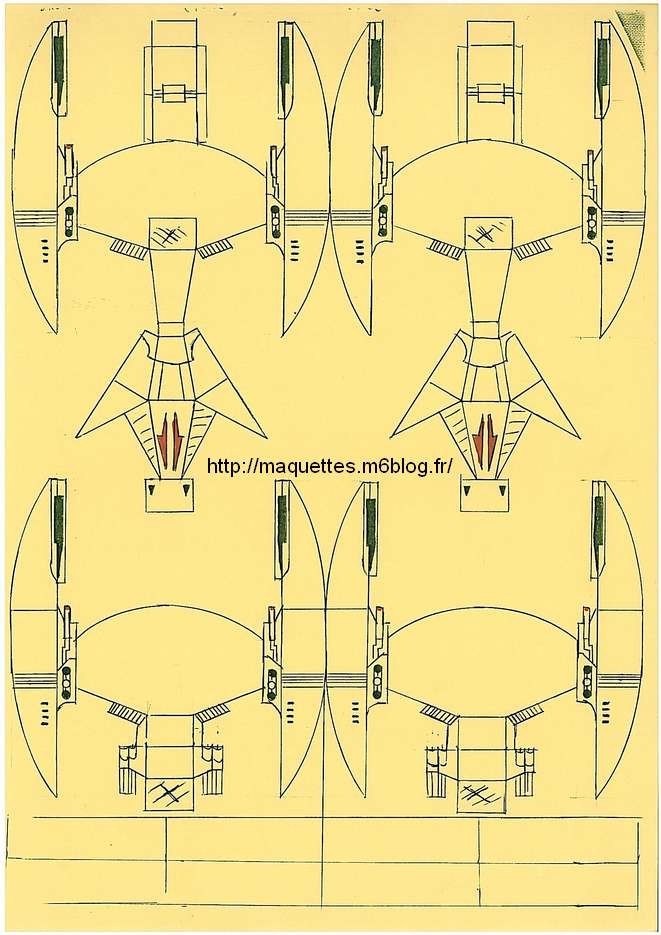
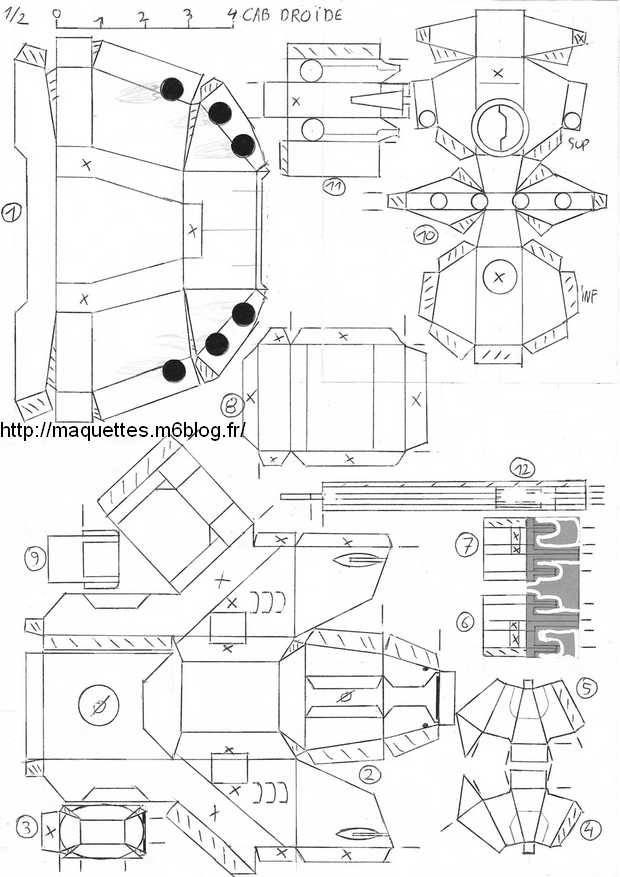
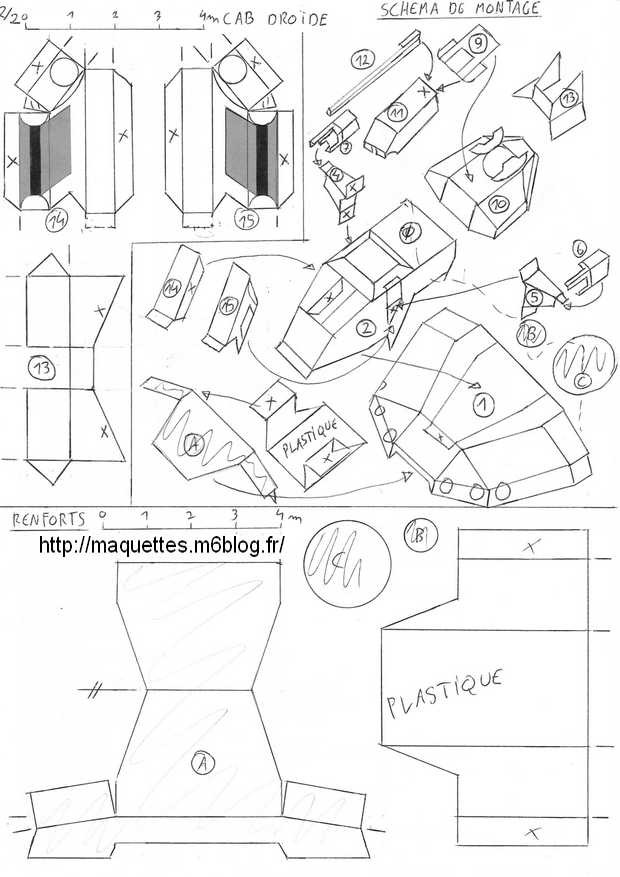
Pour télécharger le plan 3 vues, les plans de pièces, schéma de montage et de renforts en noir et blanc du CAB / To download the 3 sights plan, the plans of pieces, diagram of assembly and reinforcements in black and white of the CAB, CLIQUER ICI
Pour télécharger le plan 3 vues, les plans de pièces, schéma de montage et de renforts en du CAB de la fédération du commerce / To download the 3 sights plan, the plans of pieces, diagram of assembly and reinforcements of the trade federation's CAB, CLIQUER ICI
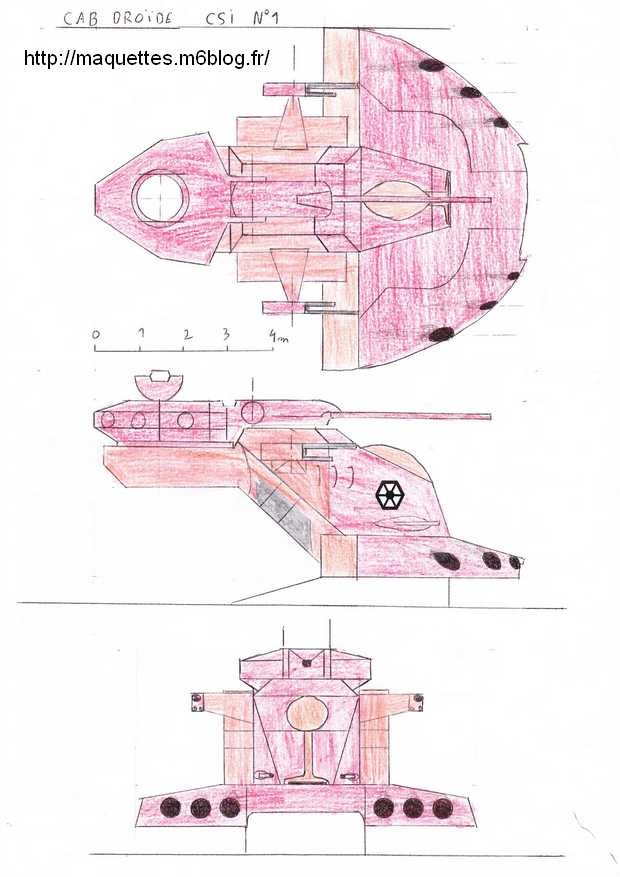
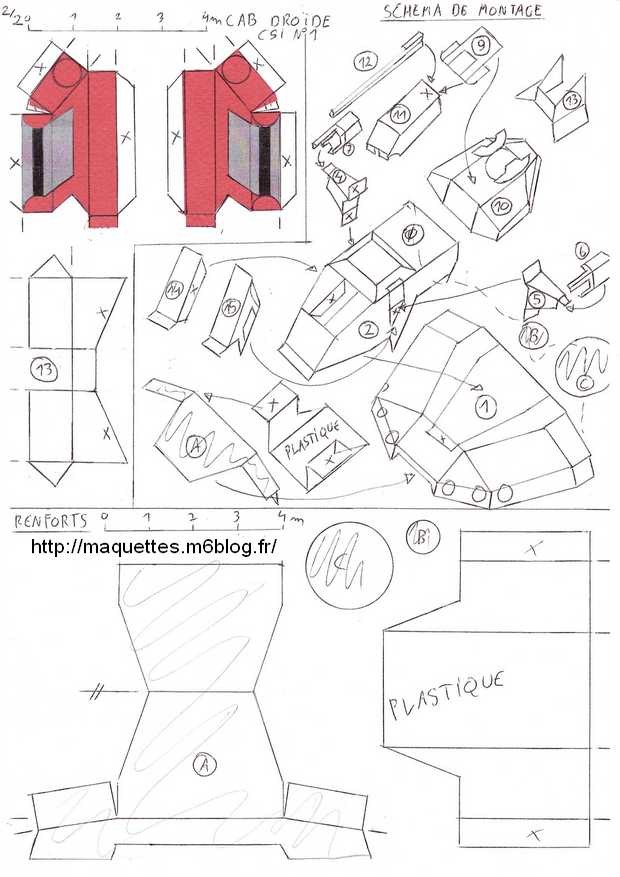
Pour télécharger le plan 3 vues, les plans de pièces, schéma de montage et de renforts des 2 modèles de CAB de la CSI / To download the 3 sights plan, the plans of pieces, diagram of assembly and reinforcements in black and white of 2 models of CSI, CLIQUER ICI
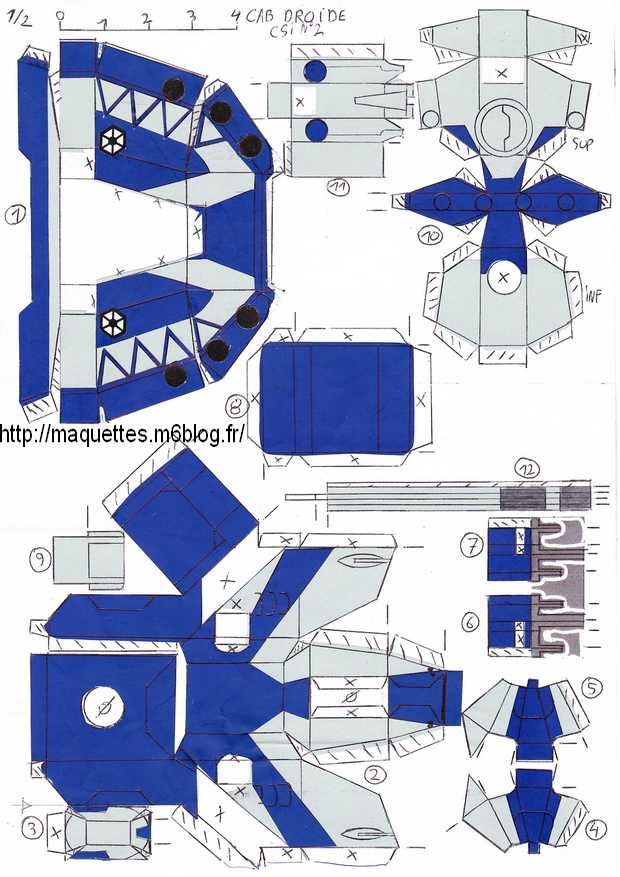
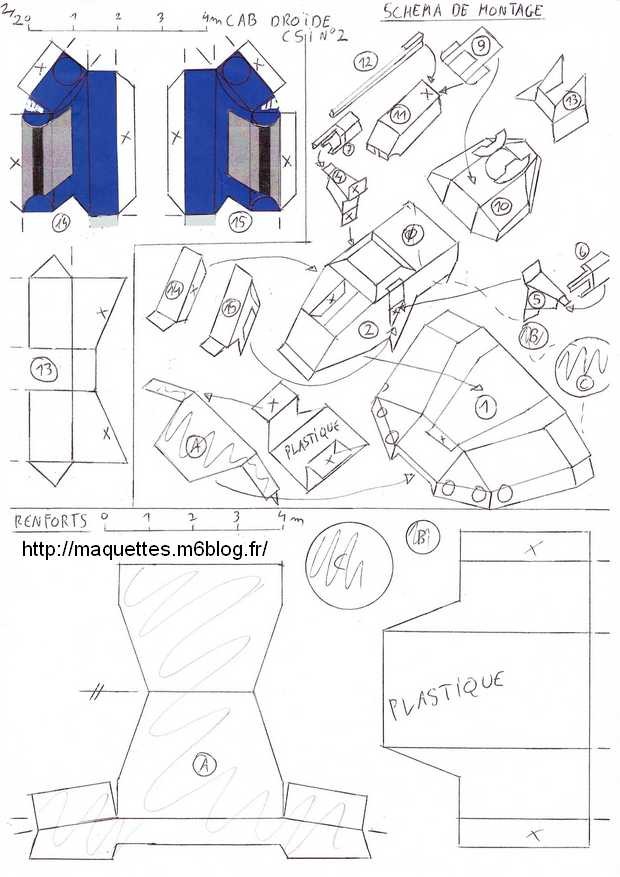
CONSIGNES DE CONSTRUCTION DU CAB :
- A la suite de sa construction, j'ai été une peu déçu par la partie avant un peu trop "trapue" ! Des petites erreurs de développés, que je ne sais pas comment résoudre, en sont la cause !!
- Pas de difficulté marquée sur ce modèle, il faut juste faire attention à la fixation de la tourelle pivotante car on doit coller la pièce B sur une boîte vide (la pièce 10 ) qui est sans renforts internes !
- Il faudra peut être utiliser de la super colle (attention à l'utilisation) pour assembler certianes pièces entre elles !
BUILDINGS INSTRUCTIONS OF ARMOURED TANK :
- No difficulty was marked on this model, it is just necessary to pay attention on the fixation of the swivelling turret because we have to stick the piece B on an empty box ( the piece 10 ) which is without internal reinforcements!
- it will be necessary can be to use some great glue (attention on the use) to assemble special pieces between them!