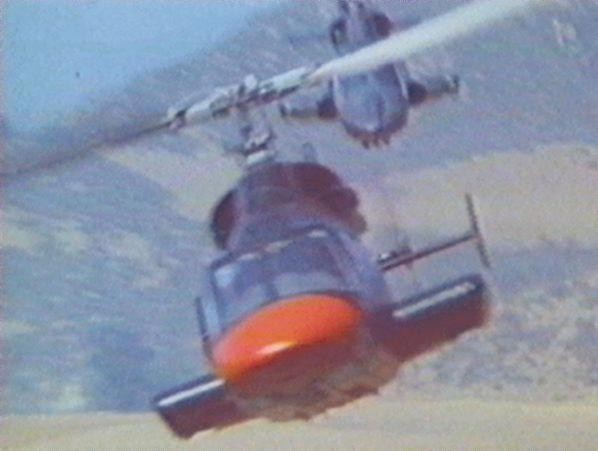
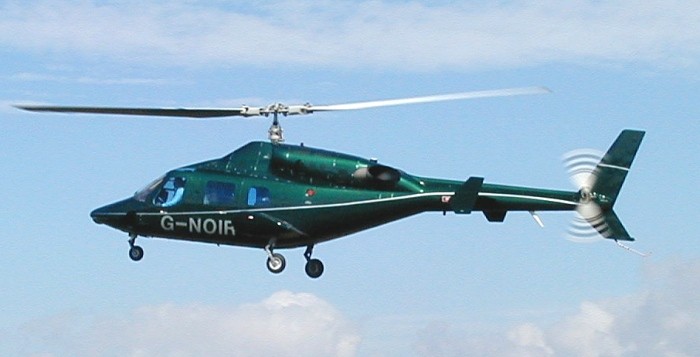
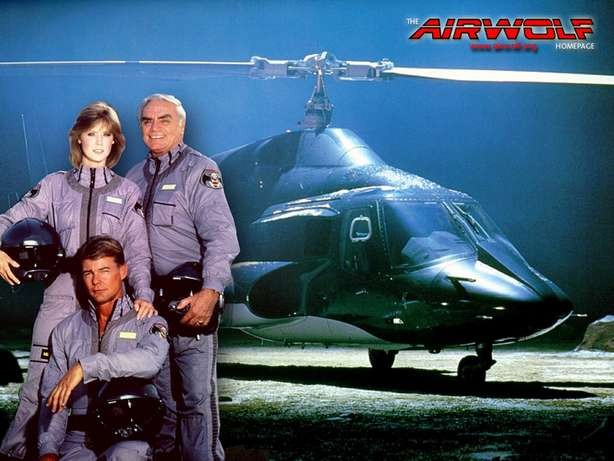
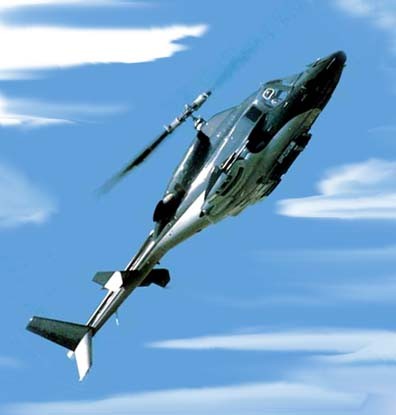
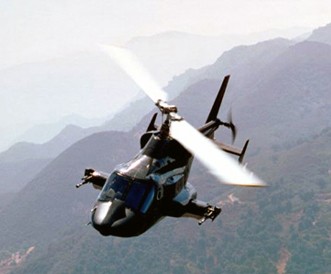
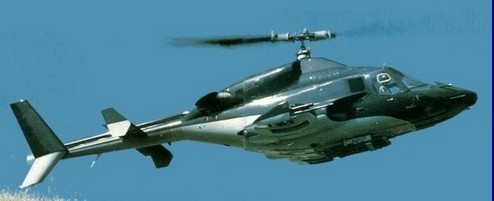
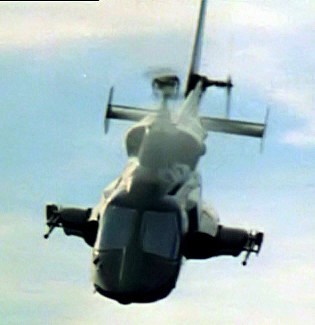
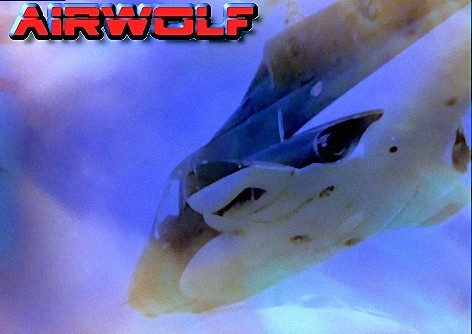
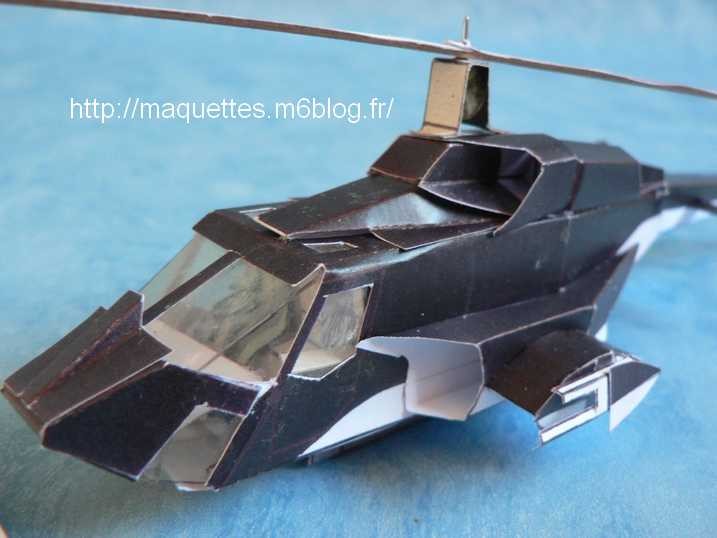
Hélicoptère héros de la série télé américaine des années 80 SUPERCOPTER ou AIRWOLF dans sa version américaine !
Helicopter hero of the American television series of the 80s SUPERCOPTER or AIRWOLF in his(her,its) American version!
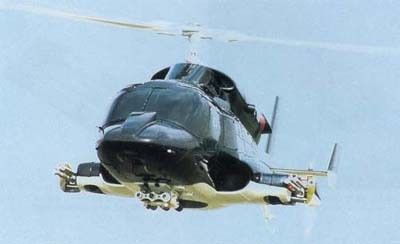
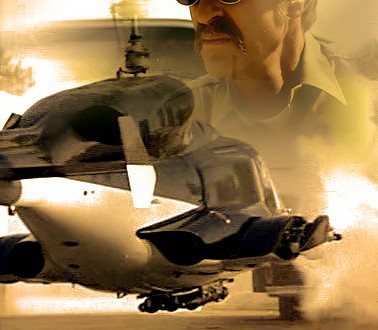
Cet appareil était armé de 3 canons à chaque extrémité de l'appareil, d'un lance-missiles orientable à 3 projectiles sous le ventre et de turboréacteurs (!) et de tous les leurres radar et infrarouge !
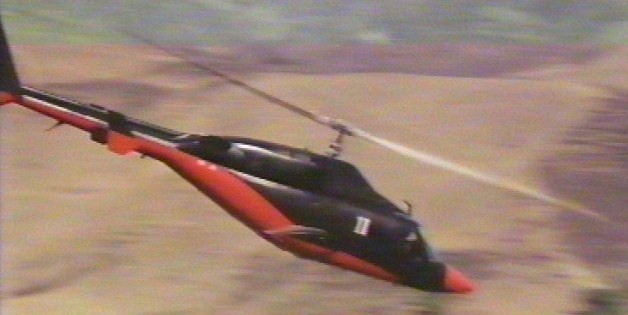
Cet appareil pouvait atteindre la vitesse de Mach 1 (!!) et voler jusqu'à la Stratosphére (!!!!)
(même aujourd'hui , cela reste impossible pour les hélicoptères !)
This device was armed with 3 artillery in every extremity of the device, with a directional missile launcher in 3 missiles under the stomach and with turbojet engines (!) and with all the radar baits and infrared!
This device could reach the speed of Mach 1 (!!) and fly until Stratosphére (!!!!) (even today, it remains impossible for helicopters!)
 |
 |
 |
 |
 |
 |
 |
 |
 |
 |
 |
 |
 |
 |
 |
 |
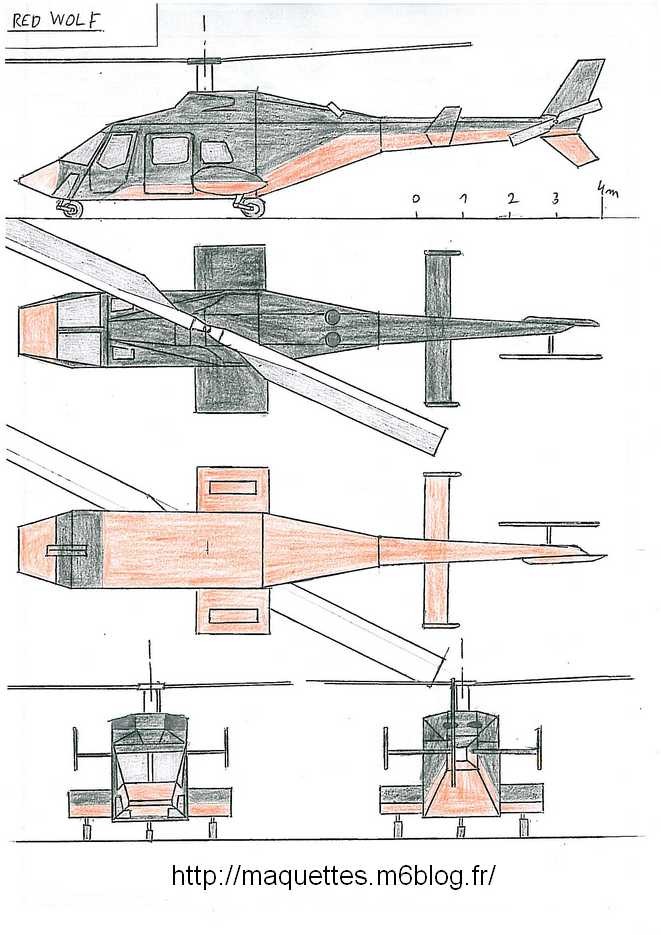
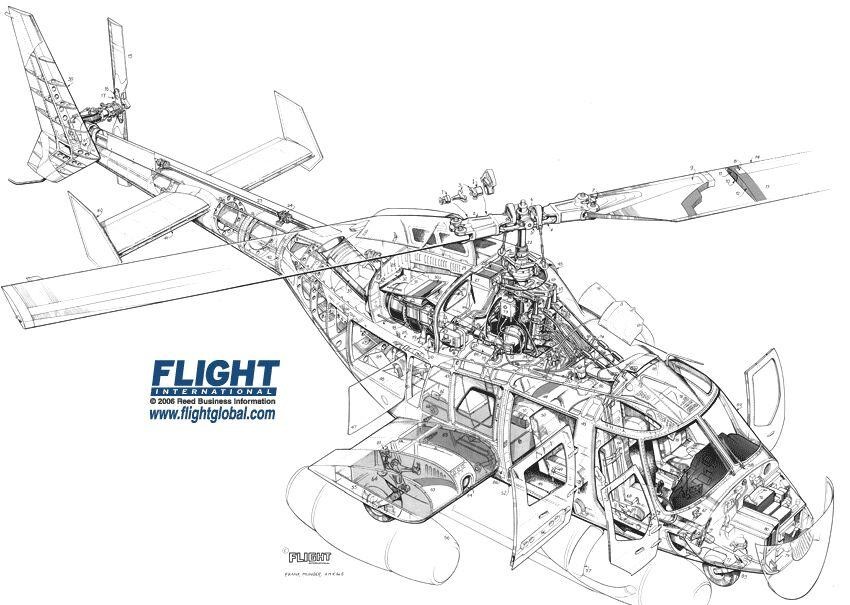
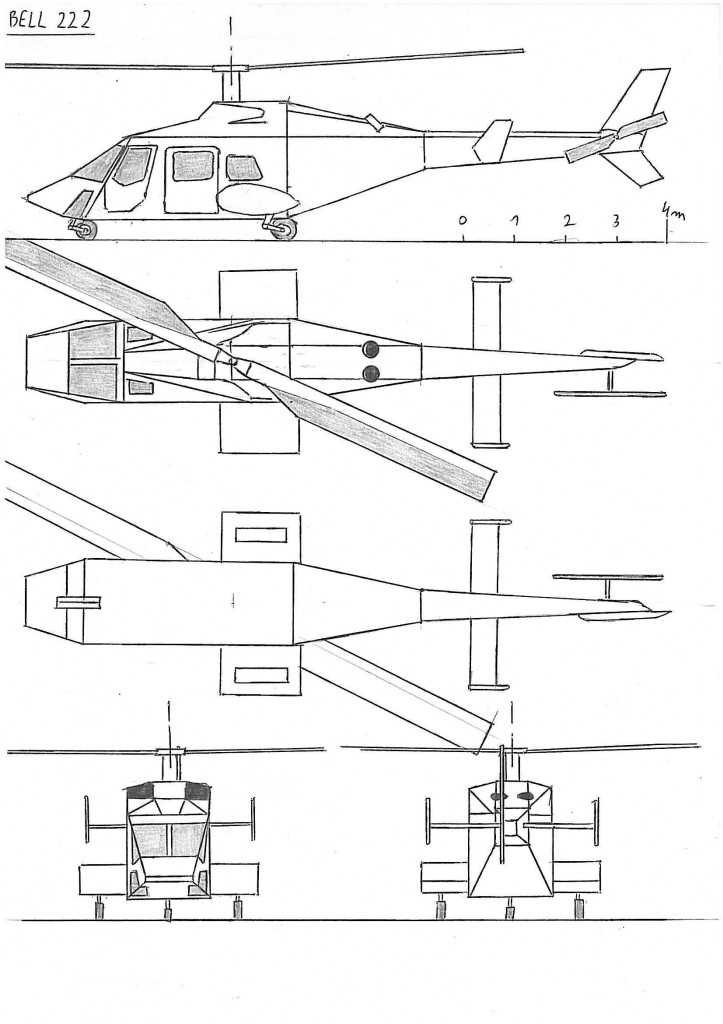
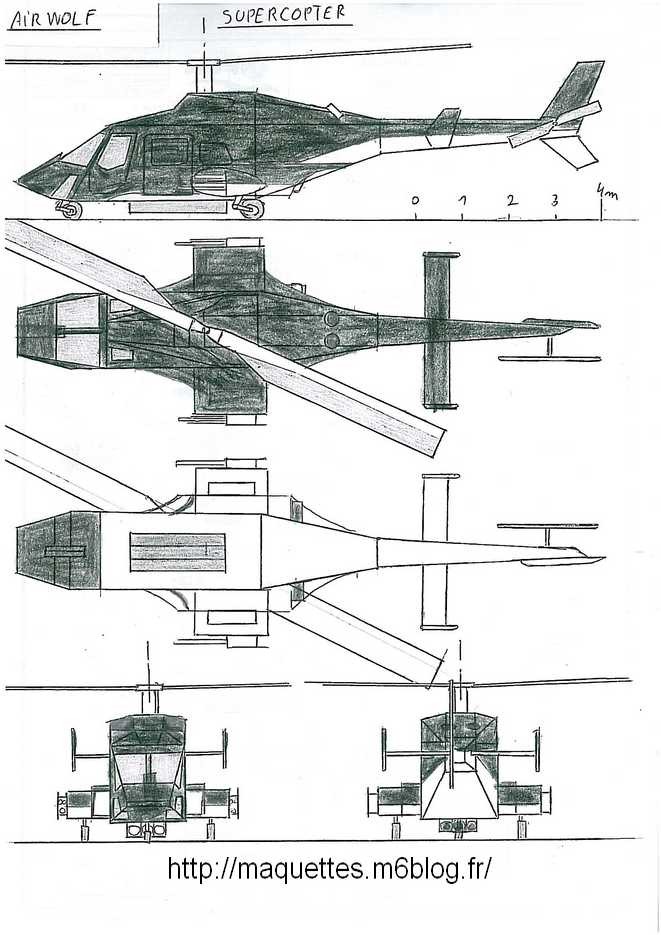
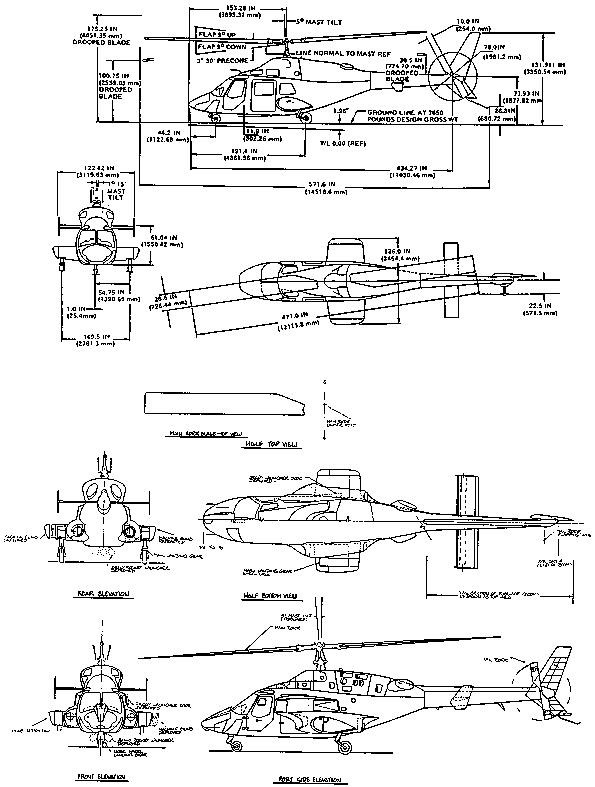 plan 3 vues de Supercopter |
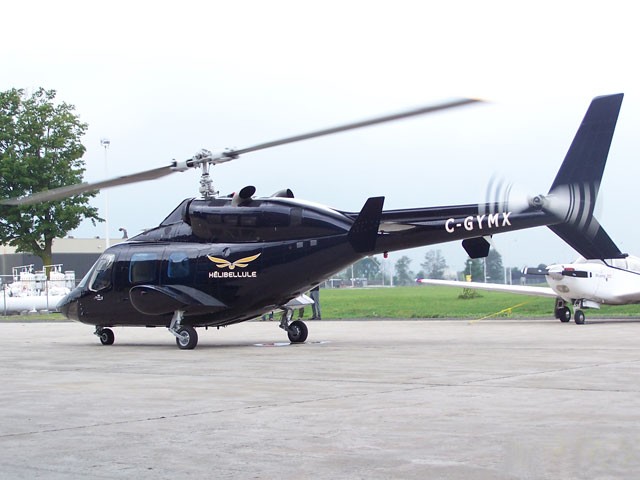
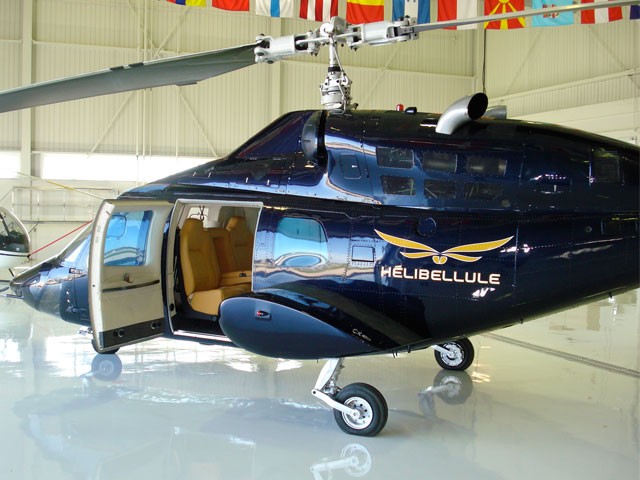
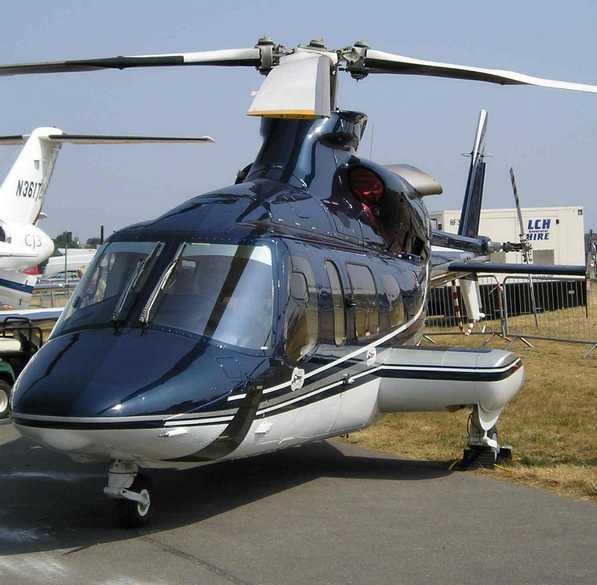
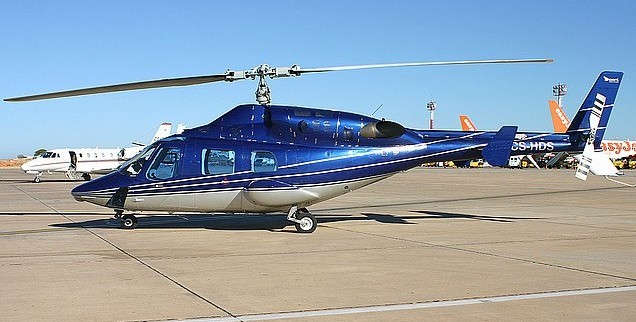
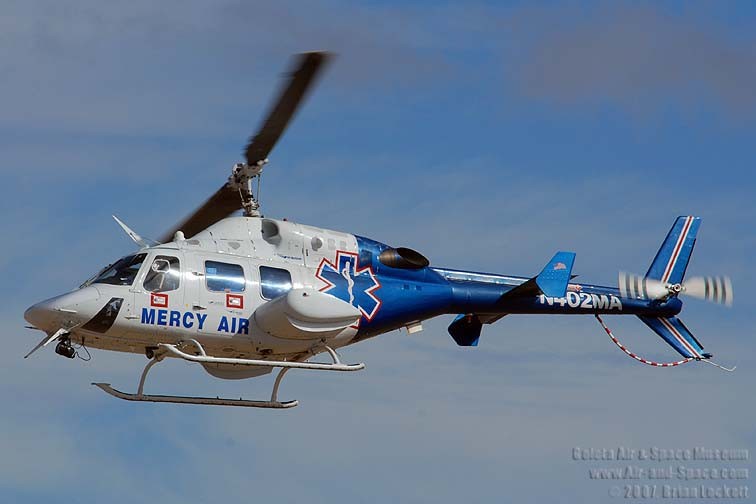
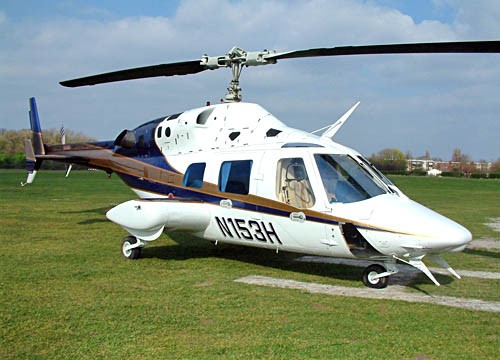
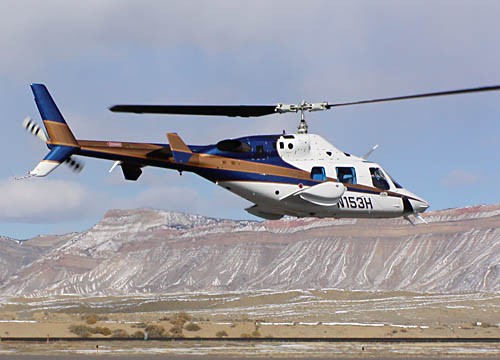
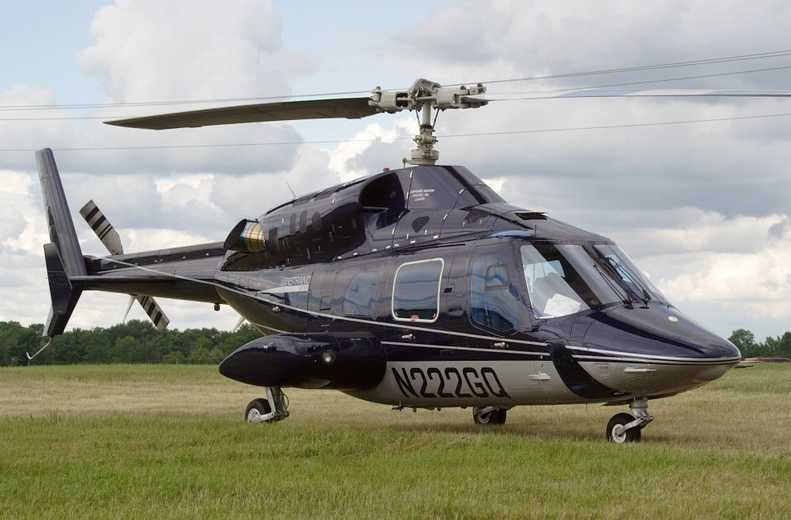
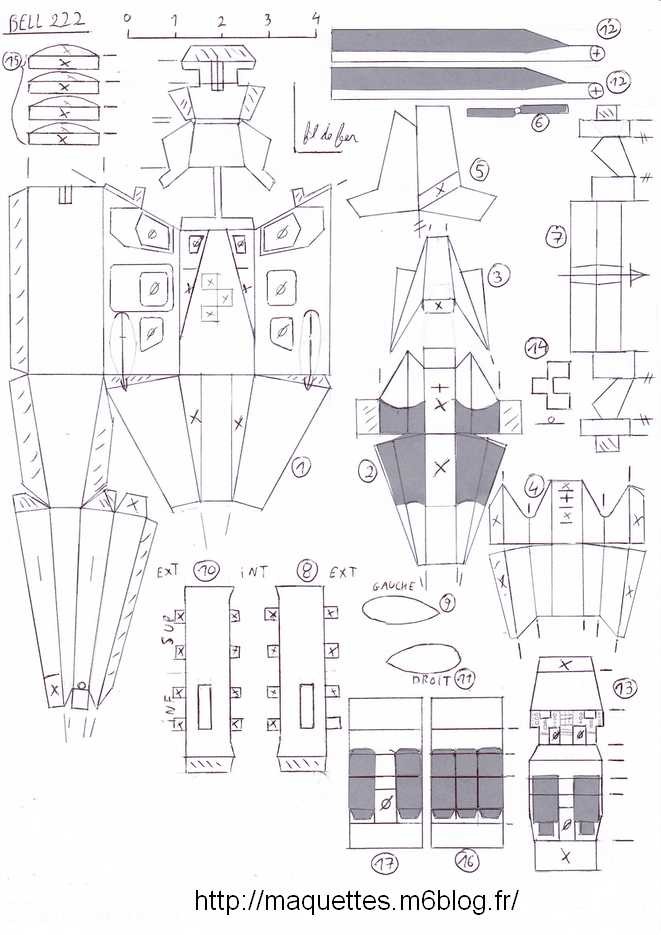
 plan 3 vues d'un bell 222 |
 |
 |
 |
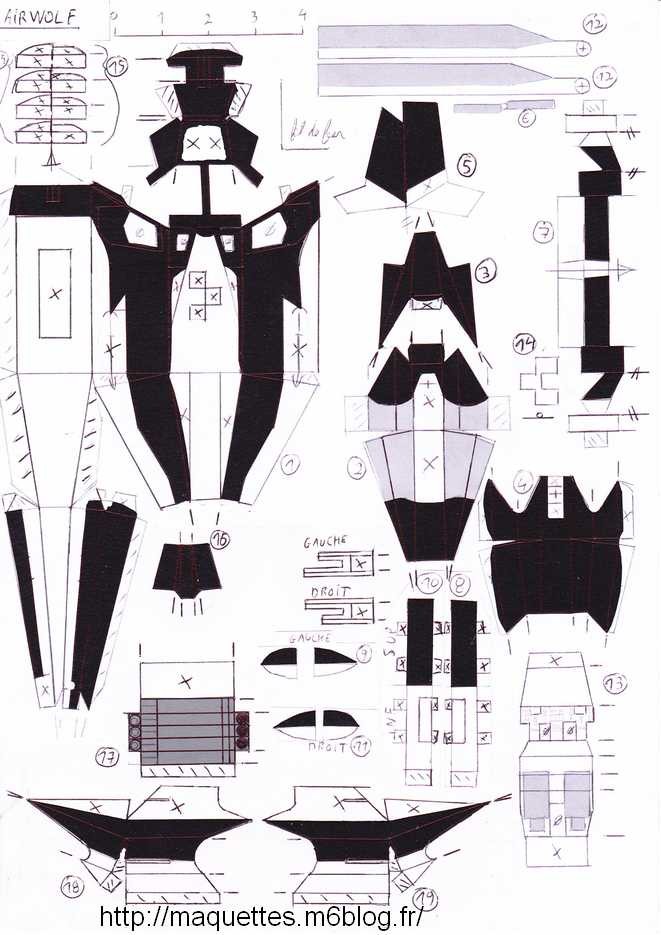
Pour télécharger le plan 3 vues, le plan de pièces, le schéma de montage et
le plan de renforts spécifiques à Airwolf au 1/66 en pdf / To download the 3 sights plan, the plan of pieces, the installation diagram and the plan of specific reinforcements to Airwolf 1/66 in pdf, CLIQUER ICI
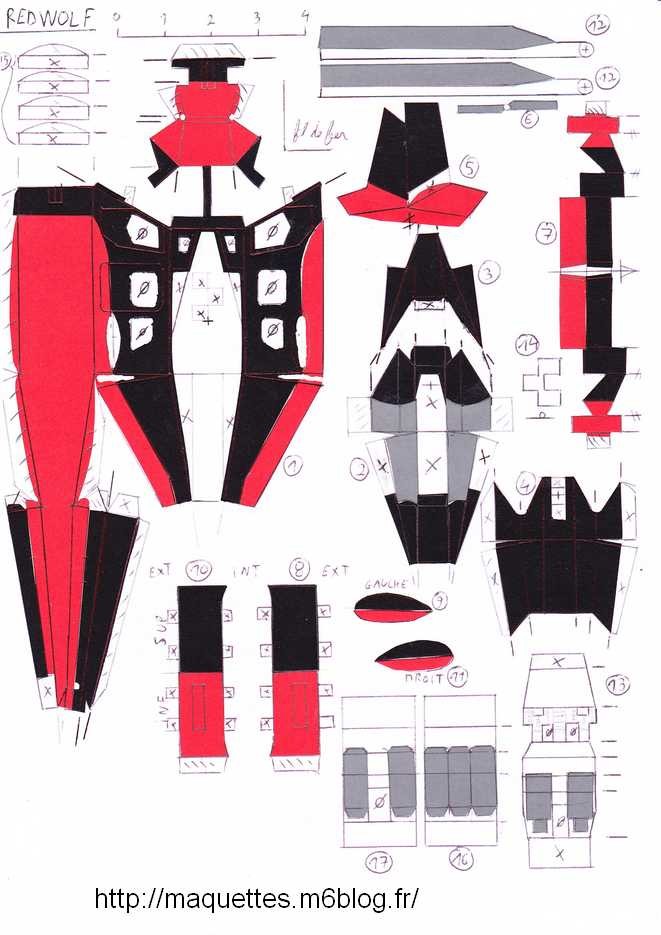
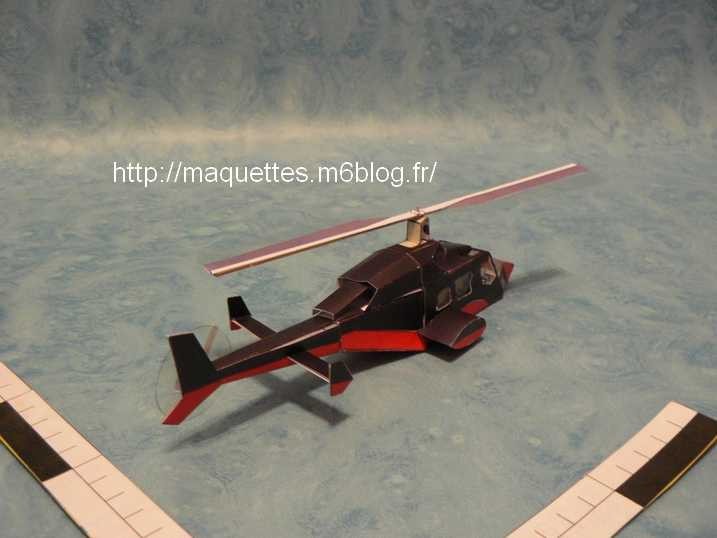
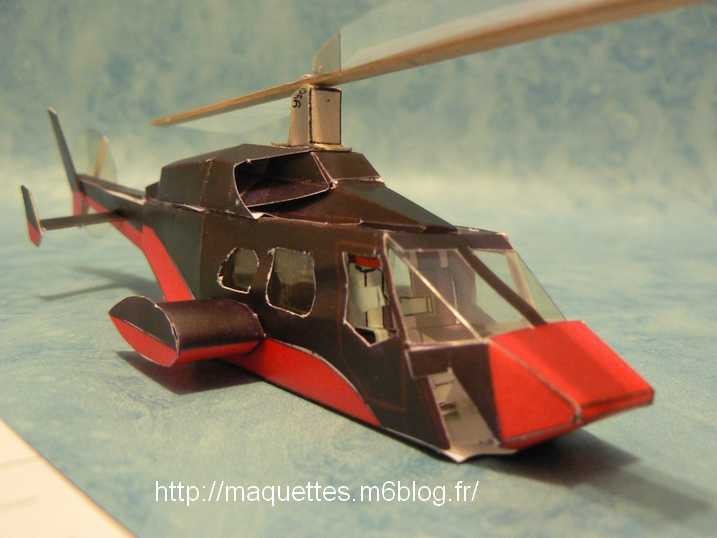
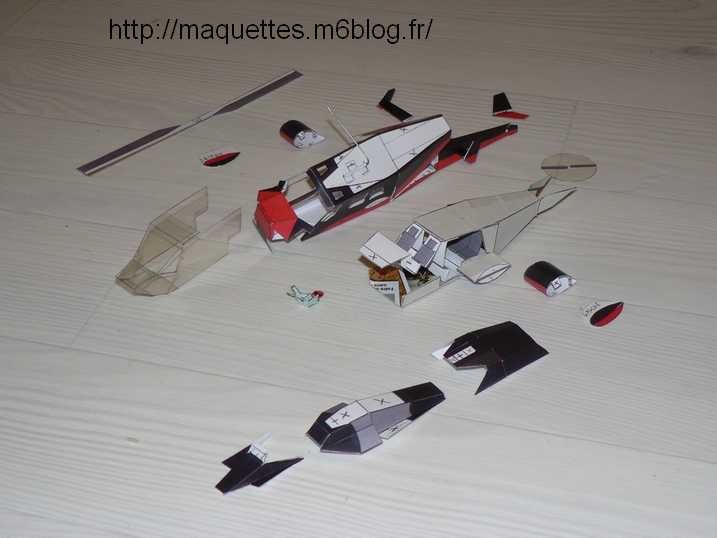
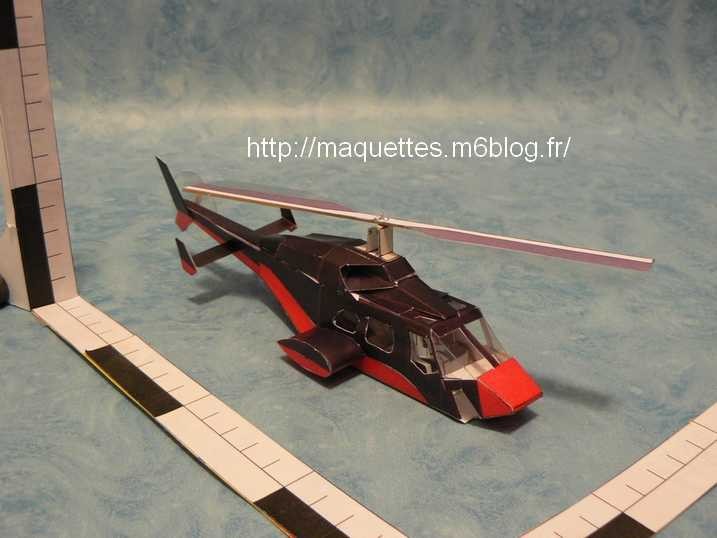
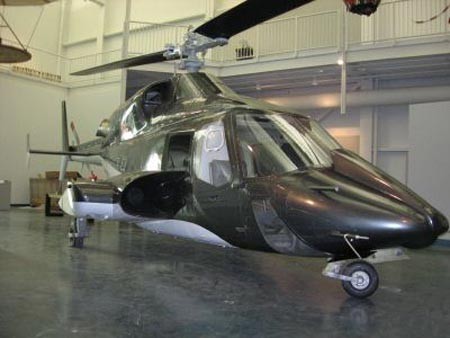
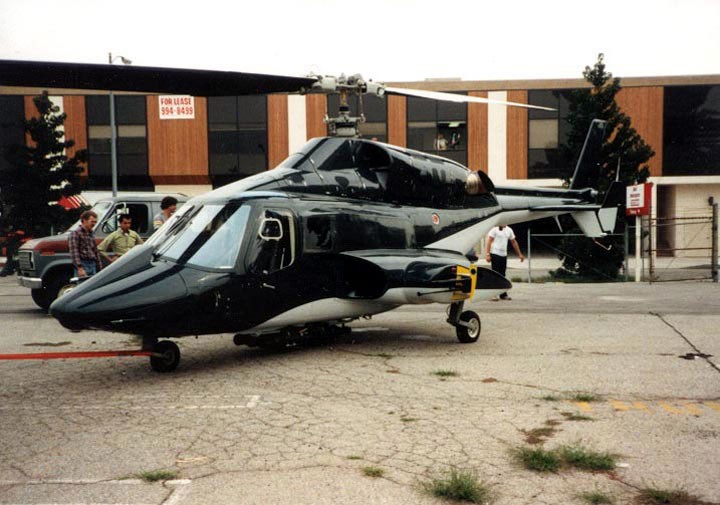
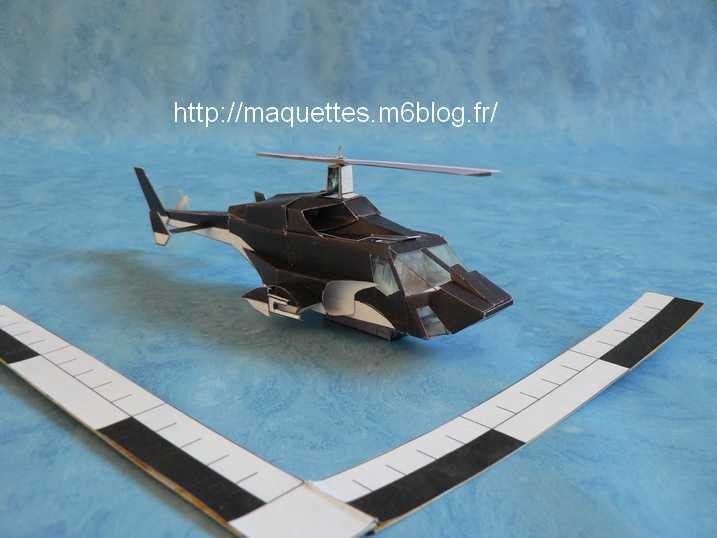
Modèle construit en janvier 2009 ! Il a été construit après le bell 222 "Redwolf" et j'ai donc pu corriger les pièces et régler divers problèmes d'ajustements !
Model builds in January, 2009! He was built after the bell 222 "Redwolf" and I was thus able to correct pieces and to solve diverse problems of adjustments!
 |
 |
 |
 |
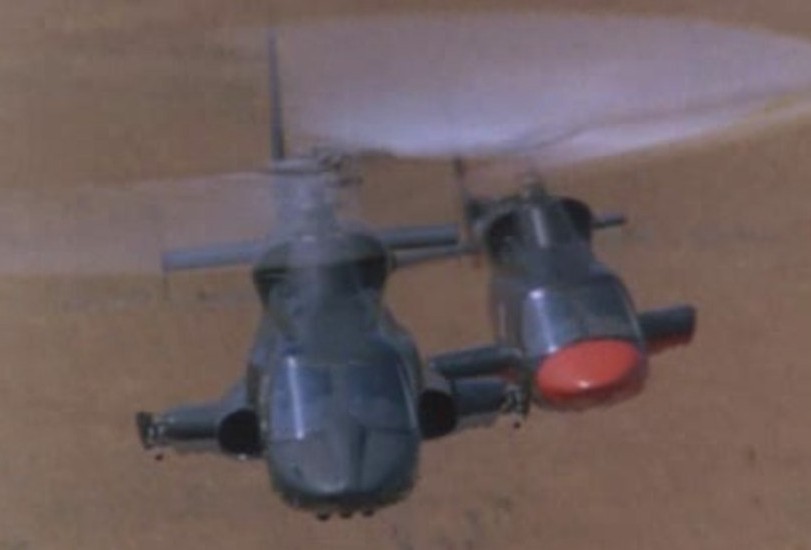
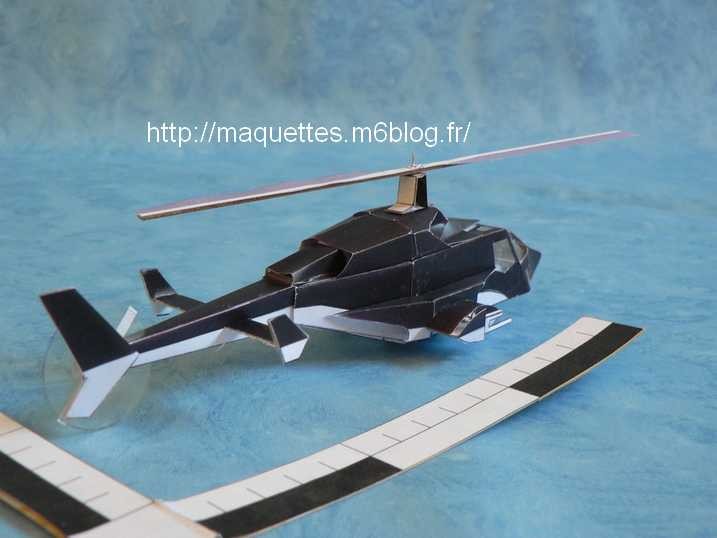
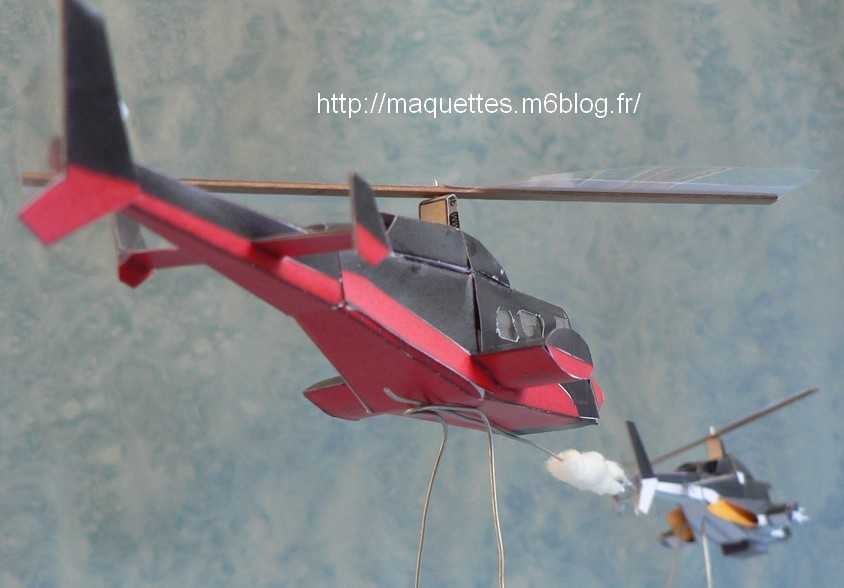
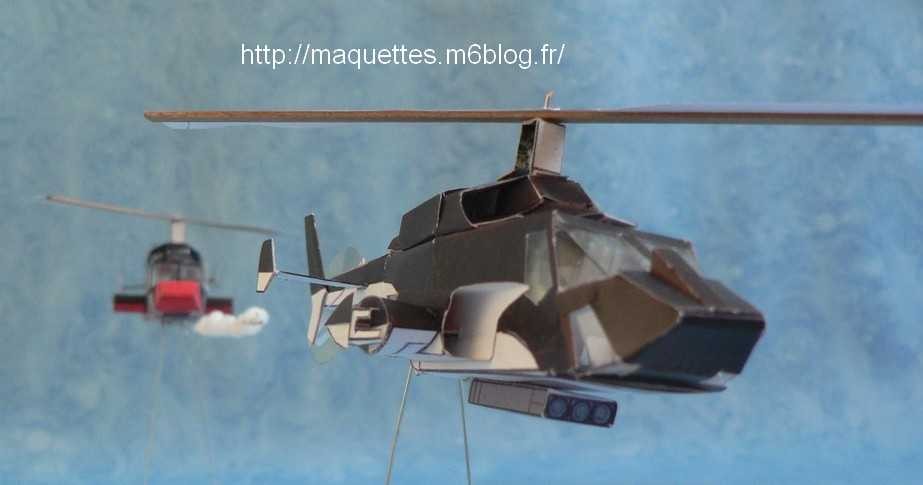
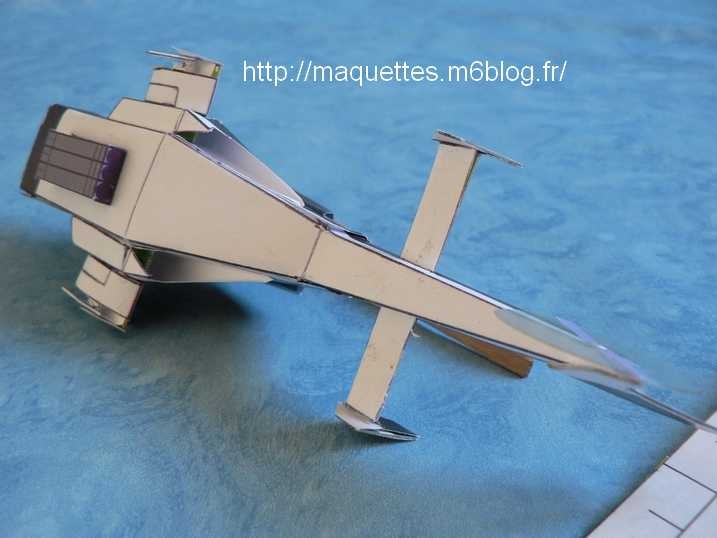 vue de dessous |
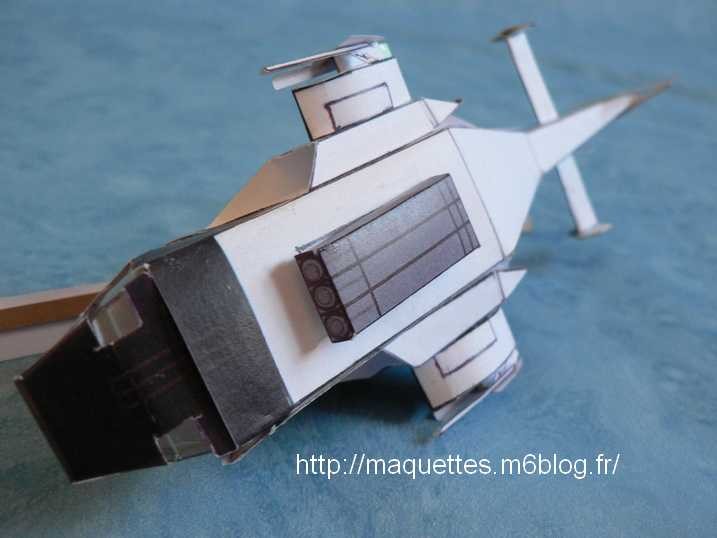 zoom sur le lance-roquettes (non-orientable sur la maquette) |
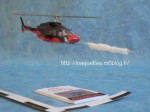
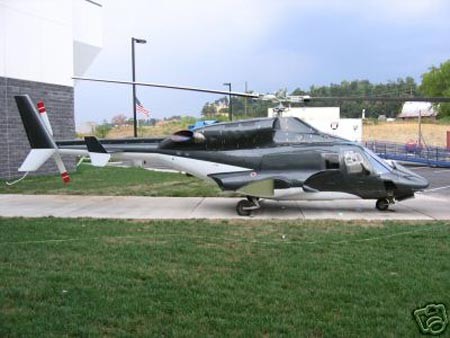
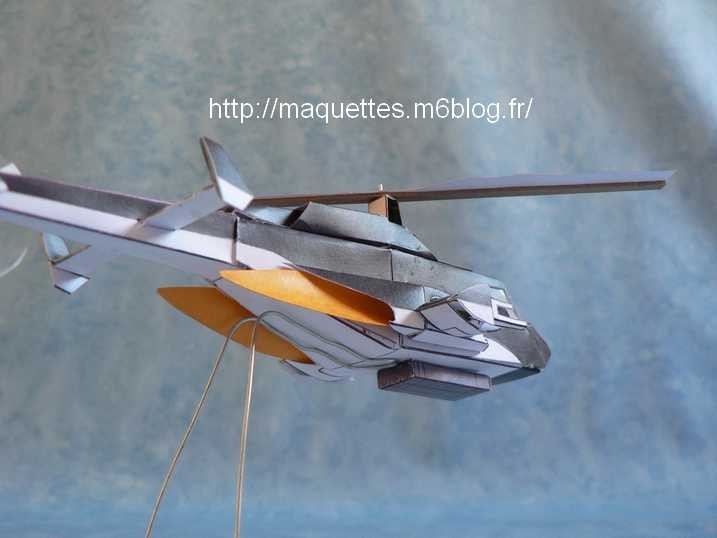
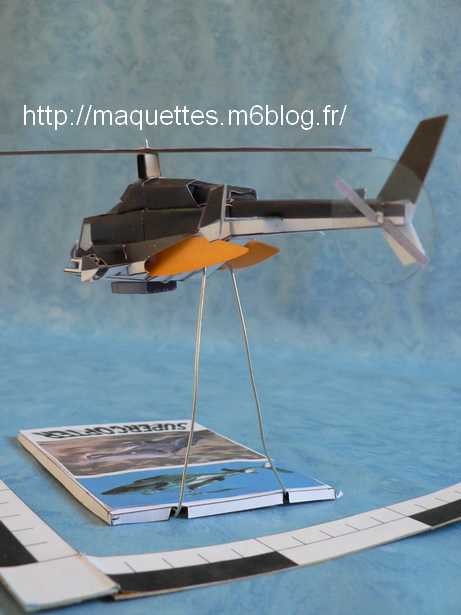
 Supercopter sur son support |
 |
CONSIGNES DE CONSTRUCTION :
- Ce modèle a été construit sans train d'atterrissage, car trop petit pour être escamotable !
- L'axe du rotor est en fil de fer plié en L!
- Je suggère de faire les 2 pales du bell 222 avec une seule latte de bois fin de 4 mm de large que l'on peut trouver chez n'importe quel magasin de maquettes ! des pales avec des renforts en carton auront toujours à se courber vers le bas !
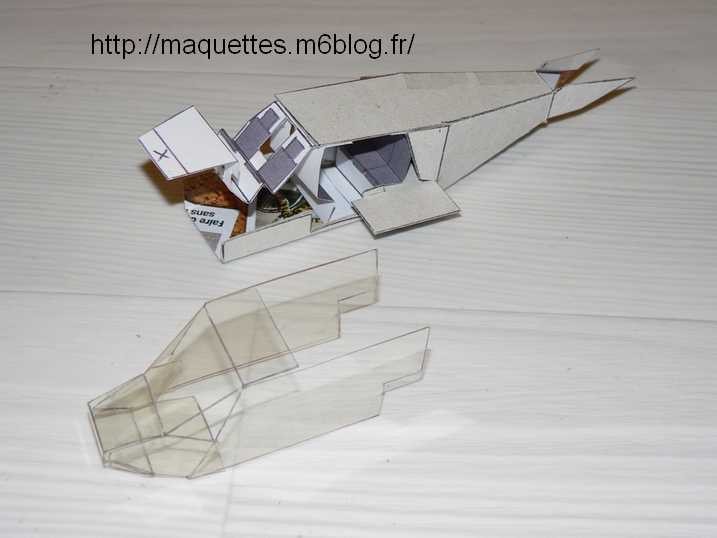
- Les découpures pour les vitres doivent être faites avec un cutter de bonne qualité ( un de mauvaise qualité aura tendance à déchirer le papier! )
- nNe pas oublier de découper de petites ouvertures au cutter en travers de la poutre de queue pour y glisser l'empennage horizontal.
- Modèle de difficulté 3 car la cabine toute vitrée avec le postes de pilotage et le nez est difficile à construire. Des ajustement sont nécessaires sur le renfort carton et la feuille plastique !
- L' insertion d'un aimant pendant la construction en arrière de la cabine avant la fermeture du fuselage permettra de poser l'hélicoptère sur un support en fil de fer et une base en carton !
- Par rapport au plan certianes entailles peuvent être prolongées afin d'améliorer l'emboîtement entre elles.
BUILDINGS INSTRUCTIONS :
- This model was built without landing gear, because too small to be escamotable!
- The axis of the rotor is in wire folded there L!
- I suggest to make 2 pales of the bell 222 with a single slat of fine wood 4 mm wide which we can find at any store of models! Pales with cardboard reinforcements will always have to bend downward!
- Notches for windows must be made with a good quality cutter (a poor quality will tend to tear the paper!)
- Don't forget to cut small openings in the cutter across the beam of tail to slide the horizontal empennage there.
- Model of difficulty 3 because the cabin quite glazed with pilot posts and the nose is difficult to build. Adjustment are necessary on the reinforcement cardboard and the plastic sheet!
- The insertion of a magnet during the construction at the back of the cabin before the closure of the fuselage will allow to put the helicopter a