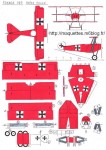
Novembre 2015

Ok

En poursuivant votre navigation sur ce site, vous acceptez l'utilisation de cookies. Ces derniers assurent le bon fonctionnement de nos services. En savoir plus.

guerre

  • (3) Sopwith Camel

    Le Camel fut un chasseur redoutable qui pemit aux pilotes britanniques d'affronter avec succès n'importe lequel de leurs adversaires pendant la première guerre mondiale. L'avion n'était cependant pas fait pour les débutants. Seuls les meilleurs aviateurs étaient capables de le maîtriser. Les défauts du Camel en faisaient sa force. Grâce à l'hélice, au moteur et à l'armement, tous placés très en avant, il était très maniable en combat aérien.
    The Camel was a redoubtable fighter which pemits to the British pilots to face successfully with all their opponents during Worl War I. The plane wasn't however made for the beginners. Only the best pilots were able to control it. The defects of Camel made its strength. Thanks to the helix, the engine and the armament, all installed very forward, it was very easy to handle in air battle.

    Pour plus d'infos sur cet appareil voir le lien / More information on these plane on: http://fr.wikipedia.org/wiki/Sopwith_Camel

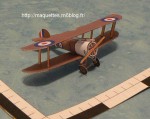
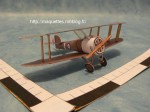
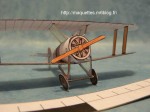
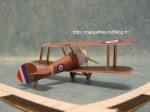
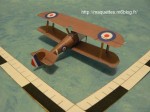
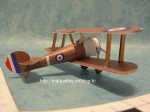
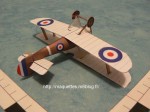
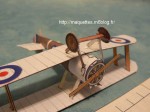
    Photos ci-dessous d'une maquette construite en mars 2009 !
    Picturess below of a model built in March, 2009!

    Sopwith Camel-image01.jpg
    Sopwith Camel-photo01.JPG
    Sopwith Camel-image02.jpg
    Sopwith Camel-photo02.JPG
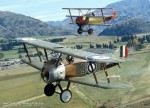
    Sopwith Camel-image03.jpg
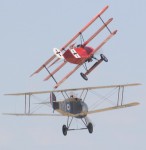
    Camel et fokker Dr1
    Sopwith Camel-photo03.JPG
    Sopwith Camel-image04.jpg
    Sopwith Camel-photo04.JPG
    Sopwith Camel-photo05.JPG
    Sopwith Camel-photo06.JPG
    Sopwith Camel-photo07.JPG
    Sopwith Camel-photo08.JPG


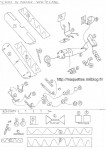
    Sopwith Camel NB-plan+pièces.jpg
    Sopwith Camel-Schéma+renforts.jpg
    Pour télécharger le plan 3 vues, des pièces noir et blanc et le schéma de montage du Sopwith Camel au 1/66 en pdf / To download the 3 sights plan, parts in black and white and installation diagram of Sopwith Camel in 1/66 pdf, cliquer ici
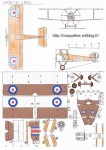
    Sopwith Camel-plan+pièces.jpg

    Pour télécharger le plan 3 vues et de pièces en couleur du Sopwith Camel au 1/66 en pdf / To download the 3 sights plan in color  of Sopwith Camel in 1/66 pdf, cliquer ici

    CONSIGNES DE CONSTRUCTION :
    - Les haubans de voilure, au milieu et les haubans support de train d'atterrissage doivent être fait avec de la feuille plastique !
    - Je suggère d'assembler les toutes pièces ensemble et de finir par le capot avant du moteur , puis par poser l'hélice !

    BUILDINGS INSTRUCTIONS :
    - The buckle shrouds, in the middle and the shrouds support of landing gear must be made with the plastic sheet!
    - I suggest to assemble any pieces together and to finish by putting the front engine hood, and then the helix!
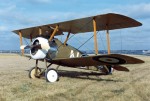
  • (3) Fokker Dr-1

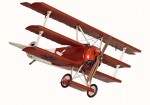
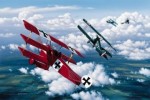
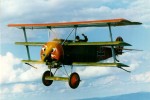
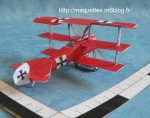
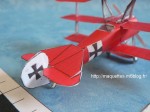
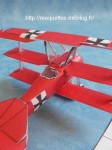
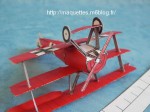
    Suprêmement agile, le Fokker Dr-1 se révela un redoutable instrument de combat aux mains de pilotes allemands, comme le célèbre Baron von richthofen, alias le baron rouge !
    Véritable terreur des aviateurs alliés du front occidental pendant la première guerre mondiale, cet appareil préleva sur eux un très lourd tribut et domina le ciel pendant des mois. Mais il ne conserva son titre que quelques mois seulement à cause de la mise en évidence du manque de robustesse de ses ailes !
    Supremely agile, Fokker Dr-1 révela a redoubtable instrument of fight in the hands of German pilots, as the famous Baron von richthofen, alias the red baron!
    Real terror of the allied airmen of the western front during the first world war, this device took from them a very heavy toll and dominated the sky during months. But he kept his title only some months only because of the revealing of the lack of robustness of his wings!

    Pour plus d'infos sur cet appareil voir le lien / For more information about this device see the link: http://fr.wikipedia.org/wiki/Fokker_Triplan_Dr1

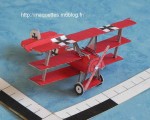
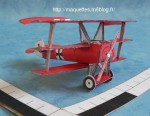
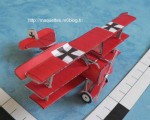
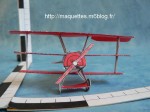
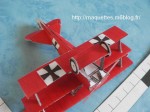
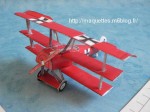
    Photos ci-dessous d'une maquette construite en février 2009 !
    (cette maquette sert d'essai pour construire également un Sopwith Camel et passer ensuite aux appareils de la seconde guerre mondiale )
    Photos below of a model built in February, 2009!
    ( This model serves as try to build also Sopwith Camel and pass then in the devices of the second world war)

    Fokker DR1-image01.jpg
    Fokker baron rouge-photo01.JPG
    Fokker DR1-image02.jpg
    Fokker baron rouge-photo02.JPG
    Fokker DR1-image03.jpg
    Fokker baron rouge-photo03.JPG
    Fokker DR1-image04.jpg
    Fokker baron rouge-photo04.JPG
    Fokker baron rouge-photo05.JPG
    Fokker baron rouge-photo06.JPG
    Fokker baron rouge-photo07.JPG
    Fokker baron rouge-photo08.JPG
    Fokker baron rouge-photo09.JPG
    Fokker baron rouge-photo10.JPG

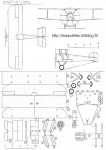
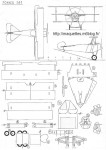
    Fokker DR1-plan+pièces.jpg
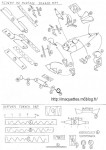
    Fokker DR1-schéma+renforts.jpg
    Pour télécharger le plan 3 vues, des pièces noir et blanc et le schéma de montage du Fokker Dr1 au 1/66 en pdf / To download the 3 sights plan, black and white pieces and the installation diagram of Fokker Dr1 in 1/66 pdf, CLIQUER ICI
    Fokker baron rouge-plan+pièces.jpg

    Pour télécharger le plan 3 vues et de pièces en couleur du Fokker Dr1 de Mandrefd Von Richthofen au 1/66 en pdf / To download the 3 sights plan and of color pieces of the Fokker Dr1 de Mandrefd Von Richthofen in 1/66 pdfCLIQUER ICI

    CONSIGNES DE CONSTRUCTION :
    - Le plan de voilure milieu doit être percé de part en part (papier et carton) à chaque extrémité pour laisser passer les haubans !
    - Les haubans de voilure, au milieu et les haunbans support de train d'atterrissage doivent être fait avec de la feuille plastique !
    - Je suggère d'assembler les pièces 5, 7, 11 et 12 et leurs renforts associé ensemble d'un côté et toutes les autres pièces du fokker de l'autre !
    - Ainsi pour finir la maquette, il n'y aura que 2 grands ensembles à assembler, puis de boucher le fuselage avec le capot avant (support d'hélice) puis de venir coller l'hélice (doublé de carton ou de plastique ) !

    BUILDINGS INSTRUCTIONS :
    - The plan of buckle middle must be drilled throughout (paper and cardboard) in every extremity to allow to pass shrouds!
    - The shrouds of buckle, in the middle and the haunbans support of landing gear must be made with the plastic sheet!
    - I suggest to assemble pieces 5, 7, 11 and 12 and their reinforcements partner together on one side and all other pieces of the fokker of the other one!
    - So to stop the model, there will be only 2 complexes to be assembled, then blocking the fuselage with the hood before (support of helix) then coming to stick the helix (doubled by cardboard or by plastic)!