Novembre 2015

Ok

En poursuivant votre navigation sur ce site, vous acceptez l'utilisation de cookies. Ces derniers assurent le bon fonctionnement de nos services. En savoir plus.

paper - Page 7

  • (3+) MiG-29C Fulcrum "Baaz"

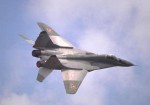
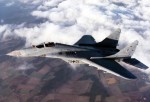
    Version de base utilisé par l'aviation du front russe avec une avionique sommaire. Cet appareil se caractérise par des capacités de décollage et d'atterrissage courts et a pour mission la suprématie au dessus du champ de bataille. Son armement se compose de :
    - 2 AA-8 Aphid d'ancienne génération à courte portée à guidage infrarouge.
    - 2 AA-10 Alamo à moyenne portée à guidage infrarouge.
    - 2 AA-10 Alamo à moyenne portée à guidage radar.
    Cet armement lui permettra de faire face à de nombreuses situations.
    Basic version used by the Russian front aviation with a summary avionics. This fighter is characterized by capacities of short takeoff and landing and has for mission the ascendancy above the battlefield. His armament consists of:
    - 2 AA-8 Aphid of former short-range generation with infrared guide.
    - 2 AA-10 medium-range Alamo with infrared guide.
    - 2 AA-10 medium-range Alamo with radar guide.
    This armament will allow him to face numerous situations.

    MiG-29-image01.jpg
    MiG-29 russe
    MiG-29C-image04.jpg
    MiG-29 russe avec
    réservoirs

    MiG-29C-image05.jpg
    MiG-29 russe
    MiG-29C-image02.jpg
    MiG-29 slovaque
    MiG-29C-image03.jpg
    MiG-29 allemand
    MiG-29C-image06.jpg
    MiG-29 allemand

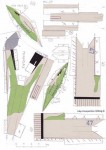
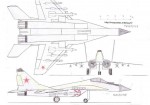
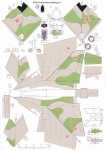
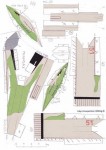
    Le MiG-29 monoplace se construit avec 2 planches. Vous pouvez construire le numéro 51 rouge ou 47 bleu, la première planche étant commune.
    Single-seater MiG-29 builds with 2 boards. You can build the number 51 red or 47 blue, the first board being common.
    MiG-29C-plan3vues1.jpg
    MiG-29C-plan3vues2.jpg


    MiG-29C-pièces1.jpg
    MiG-29C-pièces2.jpg
    MiG-29 numéro 51
    MiG-29C-pièces2bis.jpg
    MiG-29 numéro 47

    Pour exemple de modèle construit, se reporter à la fiche du Mig-29U, toutes les pièces à l'exception du cockpit sont identiques.
    For example of constructed model, refer to the index card of Mig-29U, all the parts,exception of the cockpit, are identical.

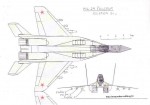
    Pour télécharger le plan 3 vues et le plan de pièces du MiG-29 monoplace de base au 1/66 en pdf / To download 3 sights plan and pieces plan of basic single-seater MiG-29 in 1/66 pdf, cliquer ici

    Pour les consignes de construction, Schéma de montage et plan de renforts, vous pouvez vous reporter à la fiche du / For the orders of construction, Installation diagram and plan of reinforcements, you can refer to the index card of MiG-29 fulcrum général

  • (4) Yak-44 AEW

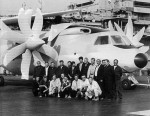
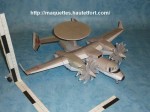
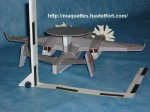
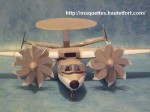
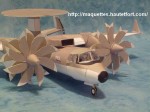
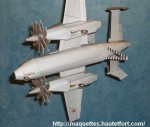
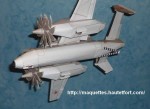
    Projet d'avion de veille aérienne destiné à être embarqué sur les porte-avions soviétiques, puis russes.
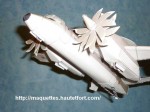
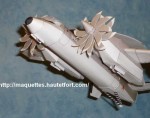
    Cet appareil se caractérisait par des moteurs à hélices contrarotatives, des winglets au bout des ailes replibles et un radôme escamotable pour faciliter son stockage danbs les hangars.

    Projet abandonnée à la suite de la disloquation de l'URSS, mais on peut supposer, au vu de la taille imposante de l'appareil (environ 20% plus grand qu'un E-2C hawkeye américain) que la cellule de base aurait pu donner naissance à des versions de liaison avec la terre (comme le C-2 Greyhound) et ravitaillement en vol, en appui des chasseurs SU-33, Mig-29K, Yak-141 et hélicoptères embarqués KA-29 et Ka-31.

    Le projet serait allé jusqu'à un modèle pour essai sur porte-avions.

    Aircraft project monitoring air to be flown on the aircraft carrier Soviet and later Russian. This device was characterized by engine propellers, winglets at the wing tips and a radome replibles retractable for easy storage sheds Danba.

    Project abandoned following the breaking up of the USSR, but presumably, given the large size of the unit (about 20% larger than an E-2C Hawkeye U.S.) as the basic unit would could give rise to versions on the ground (such as C-2 Greyhound) and air refueling in support of the SU-33 fighters, MiG-29K, Yak-141 and KA-29 shipborne helicopters and Ka-31.

    The project would have gone up a model to test aircraft carrier.


    Yak-44-image01.jpg

    Yak-44-image02.jpg

    Yak-44-image03.jpg

    Yak-44-image04.jpg

    Yak-44-image05.jpg

    Yak-44-image06.jpg


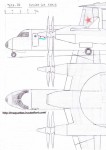
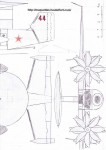
    Yak-44-plan3vues1.jpg

    Yak-44-plan3vues2.jpg

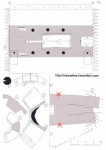
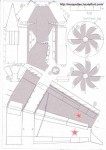
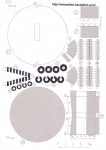
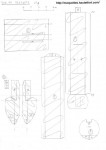
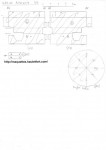
    Yak-44-pièces1.jpg

    Yak-44-pièces4.jpg

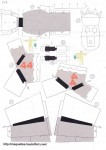
    Yak-44-pièces2.jpg

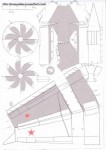
    Yak-44-pièces3.jpg

    Yak-44-pièces5.jpg

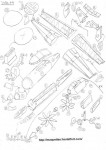
    Yak-44-schéma.jpg

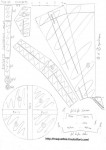
    Yak-44-renforts1.jpg

    Yak-44-renforts2.jpg

    Yak-44-renforts3.jpg

    D


    Pour télécharger le plan 3 vues et le plan de pièces du yak-44 au 1/66 en pdf / To download 3 sights plan and pieces plan of Yak-44 in 1/66 pdf, CLIQUER ICI

    Yak-44-photo15.JPG

    Yak-44-photo16.JPG

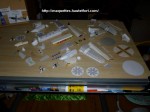
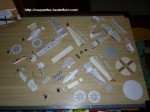
    Ce modèle a été construit en Novembre 2010 / This model was built in November, 2010 !!

    Yak-44-photo01.JPG

    Yak-44-photo02.JPG

    Yak-44-photo03.JPG

    Yak-44-photo04.JPG

    Yak-44-photo05.JPG

    Yak-44-photo06.JPG

    Yak-44-photo07.JPG

    Yak-44-photo08.JPG

    Yak-44-photo09.JPG

    Yak-44-photo10.JPG

    Yak-44-photo11.JPG
    à l'appontage

    Yak-44-photo12.JPG
    en vol

    Yak-44-photo13.JPG

    Yak-44-photo14.JPG

    CONSIGNES DE CONSTRUCTION :
    - le train d'atterrissage peut être réalisé en option.
    - Si vous réalisez le train d'atterrissage, ne pas oublier de découper les trappes du train pour que les jambes puissent sortir !
    - Des fils de fer sont utilisés pour donner la forme des dérives arrières.
    - Attention à la pièce 2 (partie arrière du fuselage) trés difficile à construire, je n'ai pas réussi à corriger le plan pour faire la liaison avec la partie centrale du fuselage (pièce 1).
    - Un lest peut s'avérer nécessaire à l'avant ou alors une cale en feuille plastique au niveau de la crosse d'appontage.

    BUILDINGS INSTRUCTIONS  :
    - The landing gear can be realized optional.
    - If you realize the landing gear, not to forget to cut the trapdoors of the train so that legs can go out!
    - Wires are used to give the shape of the drift rear
    - Attention to part 2 (rear fuselage) very difficult to build, I failed to correct the plan to liaise with the central portion of the fuselage (part 1).
    - A ballast may be required to forward or when a block of plastic sheet at the tailhook.

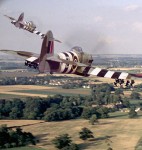
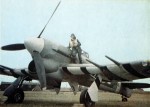
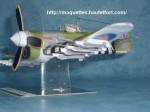
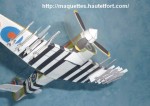
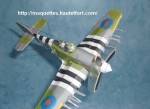
  • (3+) Hawker Typhoon

    Le Hawker Typhoon était un avion de chasse britannique monoplace produit par la société Hawker Aircraft à partir de 1941. Destiné à remplacer le Hawker Hurricane et le Spitfire dans son rôle d'intercepteur, il souffrit de problèmes de performances, mais son armement l'a finalement destiné aux missions d'attaque au sol.
    The Hawker Typhoon was a British single-seater fighter aircraft produced by Hawker Aircraft starting in 1941. Designed to replace the Hawker Hurricane and the Spitfire in its interceptor role, it suffered from performance problems, but its equipment was ultimately intended for ground attack missions.

    Pour plus d'infos sur cet appareil voir le lien / For more information about this device see the link:
    http://www.avionslegendaires.net/hawker-typhoon.php

    Typhoon-image02.jpg

    Typhoon-image03.jpg

    Typhoon-image04.jpg

    Typhoon-image05.jpg

    Typhoon-image06.jpg


    Typhoon-plan3vues1.jpg

    Typhoon-pièces1.jpg

    Typhoon-plan3vues2.jpg

    Typhoon-pièces2.jpg

    Typhoon-schéma.jpg

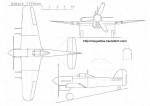
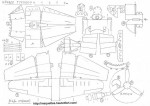
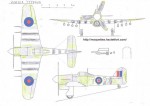
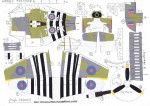
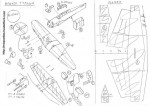
    Pour télécharger le plan 3 vues, des pièces noir et blanc et en couleur et le schéma de montage du Hawker Typhoon au 1/66 en pdf / To download the 3 sights plan, black and white pieces and in color and the installation diagram of Hawker Typhoon in 1/66 pdf, CLIQUER ICI

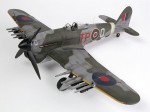
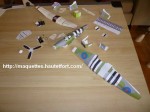
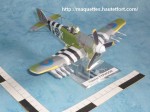
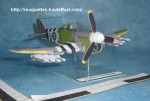
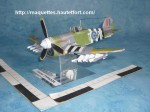
    Photos d'une maquette construite en octobre 2010/ Photos of a model built in October 2010

    Typhoon-photo01.JPG

    Typhoon-photo02.JPG

    Typhoon-photo03.JPG

    Typhoon-photo04.JPG

    Typhoon-photo05.JPG

    Typhoon-photo06.JPG

    Typhoon-photo07.JPG

    Typhoon-photo08.JPG

    Typhoon-photo09.JPG

    Typhoon-photo10.JPG


    CONSIGNES DE CONSTRUCTION :
    - Il n'y a pas de train d'atterrissage sur cette maquette.
    - Un fil de fer en travers de la voilure est nécessaire pour donner la forme des ailes.
    - Un disque en plastique est mis derrière l'hélice pour une illusion d'hélice tournante.
    - L'hélice doit être doublé de carton, en plus du disque en plastique optionnel.
    - Les câbles d'antennes radios sont faites en fil noir et les antennes en fil de fer.

    BUILDINGS INSTRUCTIONS :
    - There is no landing gear on this model.
    - A wire across the wing is necessary to give the shape of wings.
    - A plastic disk is placed behind the propeller for an illusion of rotating propeller.
    - The propeller must be lined with cardboard, in addition to the optional hard plastic.
    - Radio antenna cables are made of black wire and antennae wire